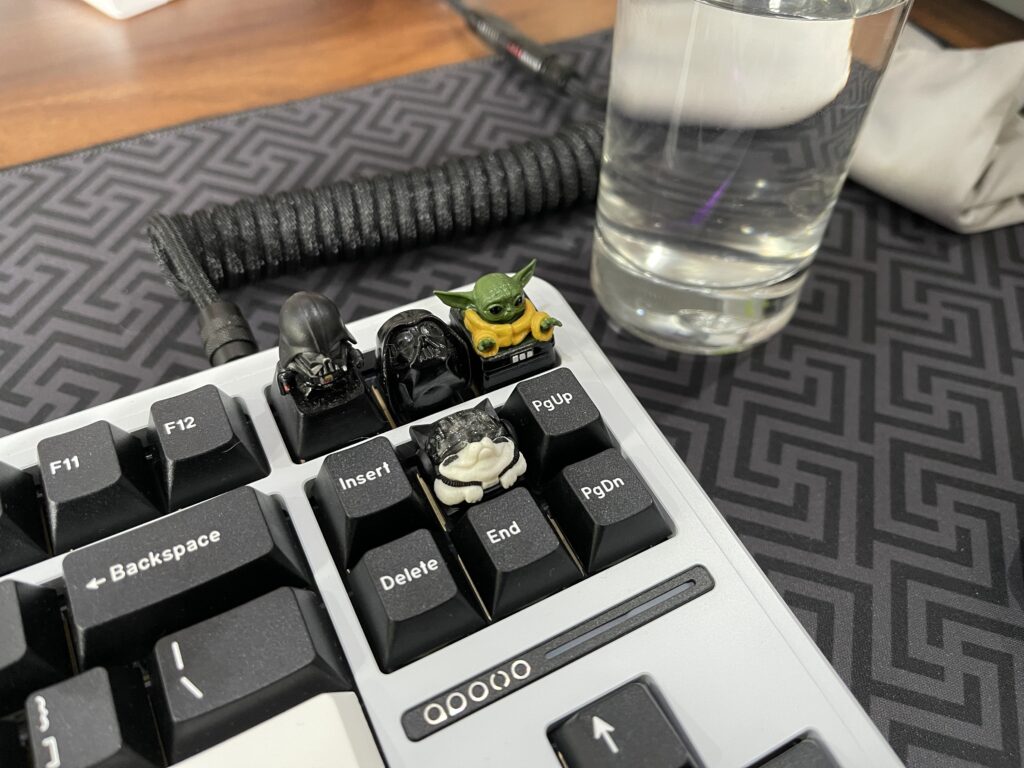
Spilling water on your mechanical keyboard might be a big deal, so firstly don’t panic! There are some few simple steps you could do to have your keyboard clean and functioning properly again.
Follow these 7 simple steps, and the keyboard will be back up and running in no time.

What to do when spill water on the mechanical keyboard
1. Do not overreact
Okay, the keyboard is wet, which isn’t a good way to start a day. What are your plans for the future? Don’t freak out.
Mechanical keyboards are much more resistant to water and liquid than you may expect. We’ll lead you through the procedures to restore your keyboard, but it’ll just take some time and patience.
The very worst action you could do in this case is panic and unintentionally damage your keyboard. Just patiently follow the steps and everything will be OK.
2. Disconnect your keyboard from the PC/Laptop
Before cleansing it and dealing with the water, unplug the keyboard.
If you get water on the keyboard, disconnect it immediately. Water and power do not go nicely, and while it is unusual that you would be electrocuted, it is best to be cautious than sorry.
Just remove the keyboard from the plug socket or, if you’ve a removable connection, from the rear of your keyboard. Once removed, the keyboard will be left without power until all are totally dry.
Don’t be that person getting impatient and puts the keyboard again in before everything has dried, as this can destroy your keyboard.

3. Pull all of the keycaps out
The liquid you spilled on your keyboard most likely dropped on the keycaps and dripped between every key.
There must be some water pooling underneath the keycaps, therefore in order for things to dry completely, you’ll need to detach the keycaps and clean the water.
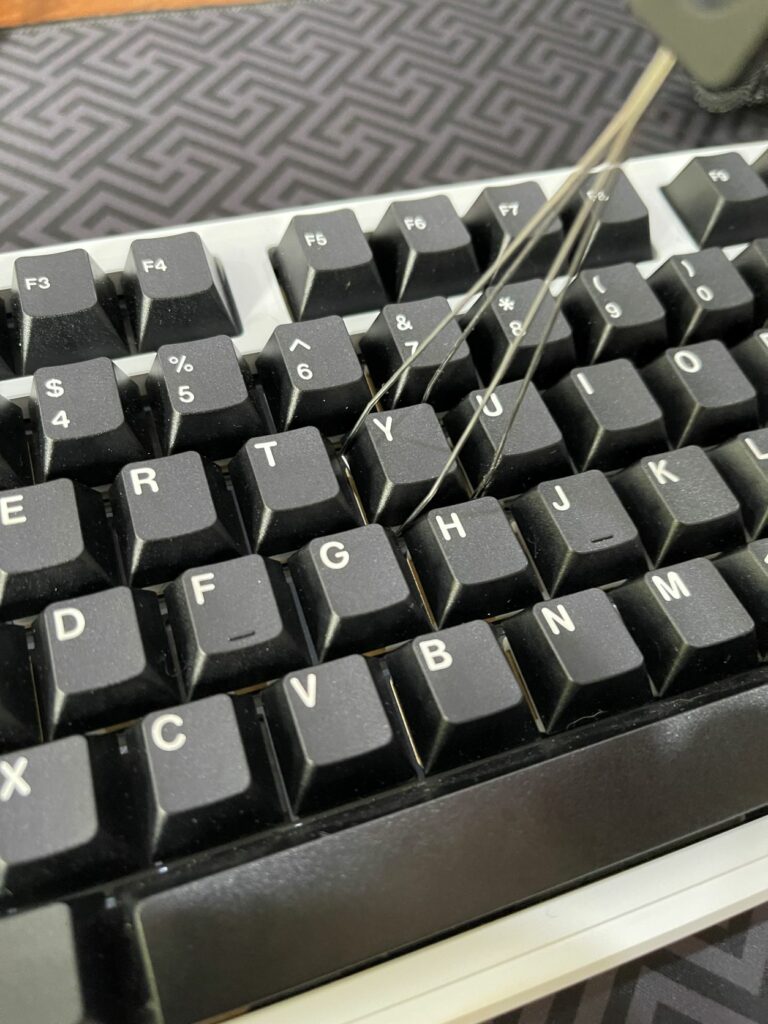
Removing your keycaps is a straightforward step that is completely described in this post, but we’ll offer you a little explanation on how to perform it.
We prefer using a keycap puller to detach the keycaps, but you are doing it with your fingertips if needed; it’s just a little slower and little unpleasant.
While removing the keycaps, carefully squeeze and loosen up the keycaps off to avoid damaging the stem on the keyboard switch underneath the keycap.
It’s also a good idea to take a photo of your keyboard before removing the keycaps so you know precisely where all of buttons are for future reference.
We can proceed to the following step after all of the keycaps have been removed.

4. Use a microfiber towel to clean the keyboard
After all of the keycaps removed, you must have immediate access to all the liquid that has pooled on the keyboard’s surface.
It’s time to clean away all of the extra water so that everything dry quickly and the water will not really soak into the keyboard’s case.
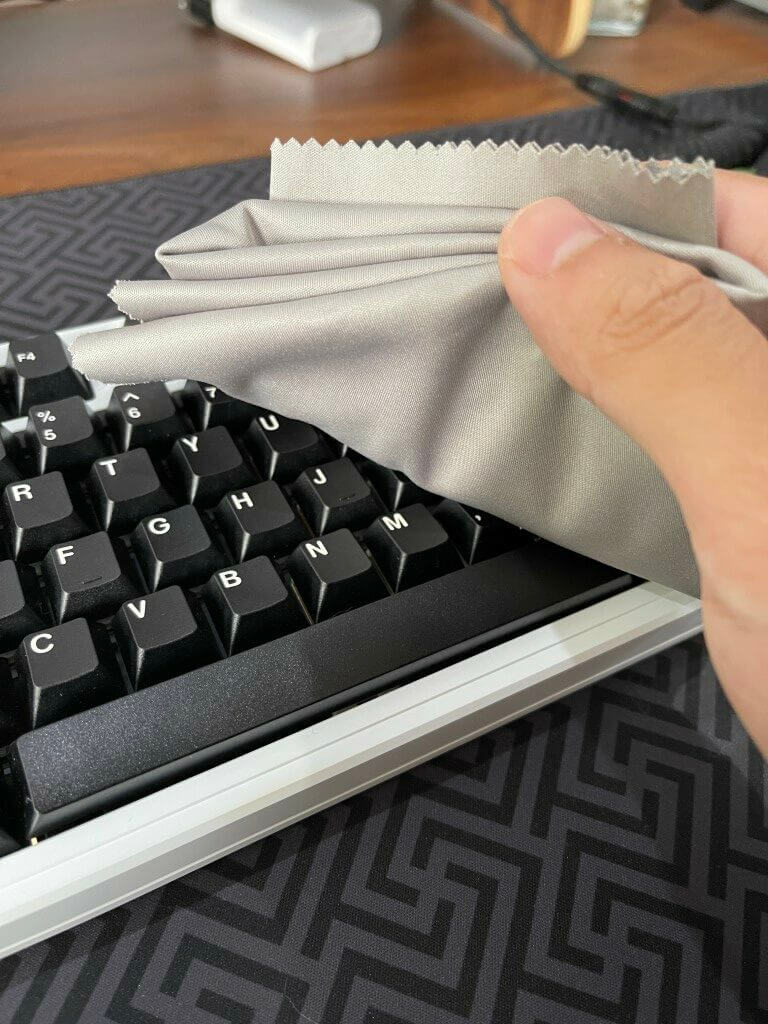
We suggest using a microfiber towel to clean the keyboard. We advise a microfiber towel over a paper towel since paper particles attach to the keyboard and therefore can clog the switches.
Only when you don’t have a microfiber towel available, a cleaned handkerchief or dishtowel can work. You can learn more about which cleaning chemicals are safe to use on a keyboard here.
Clean up the keyboard’s surface until there are no droplets or spots of water on the surface.
5. Tilt the Keyboard
You’re basically done with the job at this stage! Everything that remains is to turn the keyboard over so that any water that has made the journey into the case (if any) could escape.
Simply place the keyboard switches face down on the desk in direct sunshine to allow any remaining water to drain and dry fast. You should keep it in this position for the remainder of the drying time.
6. Give it some time to dry out
Waiting, as a wise person once said, is a skill. This is the most difficult step in my experience, yet all that remains is to wait.
It should take roughly two days for the remaining water to drain, so leave the keyboard alone for two days before plugging it in.
If you’ve had a spare keyboard, now is the time to utilize it over the next few days while your main keyboard recovers.
After 2 days, you could go to the final phase!
7. Connect and check!
It’s finally time to connect in the keyboard to test if it’s still functioning. After 2 days of waiting, it’s ready seeing if your keyboard is fully functional again.
Give your keyboard a little shake prior connecting it back in to see if there is any noticeable water left. If there is, I would leave it unplugged for another 2 days before putting it back in.
Whether not, connect in the keyboard and check to see if everything works! We recommend performing a brief test to ensure that all of the keys are still working. There is an application called key-test that will allow you to quickly test each key on your keyboard.
If all of the keys operate properly, all that’s needed to do is replace the keycaps, and you’re ready to go. Kudos!
We’ll go over what to do if the keyboard and some of the particular buttons are still not working.
Is the keyboard still not working?
If the keyboard is still not functioning after completing the instructions indicated above, you’ll want to get your hands dirty and disassemble the complete keyboard case.
I understand if you’re feeling a little confused or upset right now, but please bear with me. We can get the keyboard working again; you really need to be patient.
Your keyboard is probably still not working at this point because the printed circuit board (PCB) within the keyboard is wet and unable to dry while inside the casing.
Taking apart the keyboard case by removing screws!

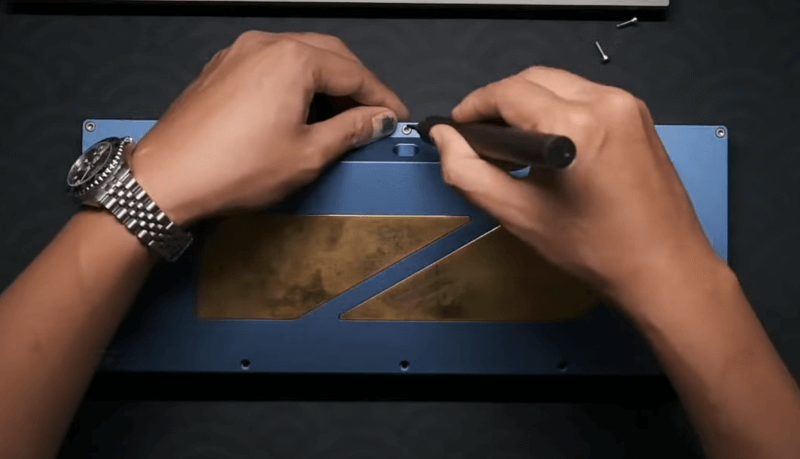
To resolve these issues, remove your keyboard once more and gather some accessories. You’ll need to locate and remove all of the screws that bind the keyboard together. Because every keyboard is a little unique, there is no one way to do this. It will take some searching to locate all of the screws.
After removing all of the screws, you could now open the case. Some keyboards are held together a little more tightly by the plastic case, in which situation you must make your way along it loosening this until it pops open.
You now have access towards the PCB, which you must remove from the case and dry on the table in sunshine for (again) 48 hours.
Simply reassemble and test all after the PCB has dried (step 7)! At this stage, your keyboard must be functioning.
Conclusion
Spilling water on the keyboard can be a stressful mistake, but mechanical keyboards are much more water-resistant than most people actually believe.
You must be able to get your keyboard back and running as quickly as possible if you complete the 7 steps indicated in this article.
Simply be calm and let everything to dry completely before connecting your keyboard as a precaution.
If the problem persists, you can open the keyboard case and remove the PCB, allowing it to dry completely.
We wish you success and hope that this advice assists you in getting your keyboard back in working order.
Have fun typing!
