If you are a keyboard lover who always wants to test new switches but don’t want to use soldering tools, a hot-swappable mechanical keyboard is the best option for you to replace and install new switches with ease.
You can easily change your keyboard switches without being afraid of breaking your keyboard. In this article, we will show you how to do it in a simple way.
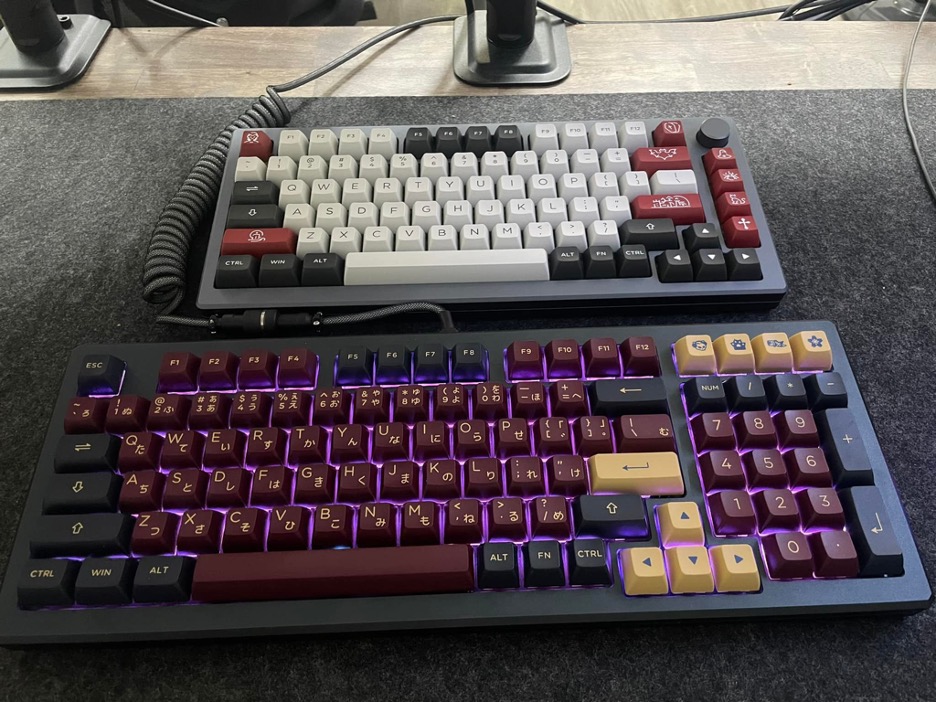
What is a hot-swappable keyboard?
Before getting into the detailed steps, let’s find out what a hot-swappable keyboard is. Normally, a traditional keyboard will have its switches soldered to the PCB board to secure the connection. The solder will keep the switches on the PCB. In order to remove and swap other switches, you will have to de-solder the switches with the soldering tool and then re-solder new switches to the PCB.
A hot-swappable keyboard lets you replace the switches without having to solder or desolder the components to or from the PCB. It is because the PCB has a hot-swap socket that allows you to easily put in or remove the switches.
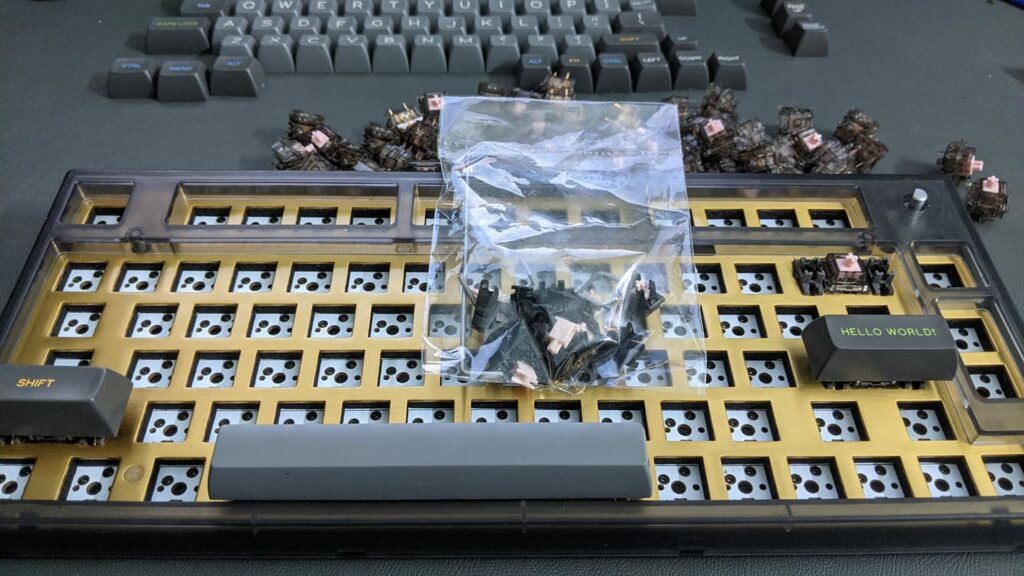
Hot-swappable keyboards are quite popular among gamers, modders, and DIY enthusiasts because they allow for quick and easy changes to keyboard switches without much work on the hardware.
The best thing about hot swapping is that you can easily replace any part of the board – including the keycaps.
Are your switches usable with a hot-swappable keyboard?
Basically, most of the switches are compatible with a hot-swappable keyboard. You can use any type of switch, whether it’s Cherry MX or clones. They will all fit on the keyboard. This will give you a ton of options to choose the switches that fit you the most.
When purchasing switches, you should find out if the switches are 5-pin or 3-pin.
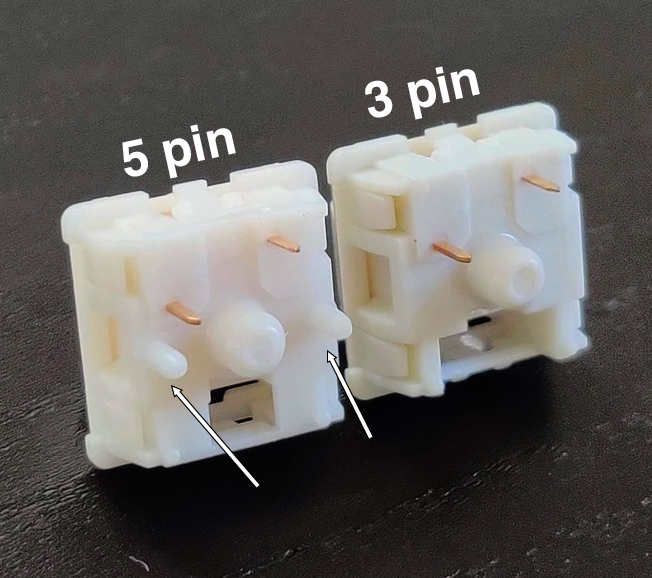
Hot-swappable Switches: 3 pin and 5 pin
Each switch has two metal pins on the bottom and also has a bigger circular plastic pin. By sliding these pins into the PCB, the switch will become steady and will not fall out.
The 3-pin switch has one circular pin and two metal pins, while the 5-pin switch has two additional plastic pegs, which will allow more stability when inserting the switch into the PCB.
Every hot-swappable keyboard that supports 5-pin switches will also support 3-pin switches. However, you can only use 3-pin switches on a 3-pin hot-swappable keyboard. But there is still a way to convert 5-pin switches to 3-pin, and it is quite simple.
To convert, you will need to use a nail cutter to cut off the two extra plastic legs on the bottom of the switch. It is an easy method, but it may take you quite some time if you have lots of switches.
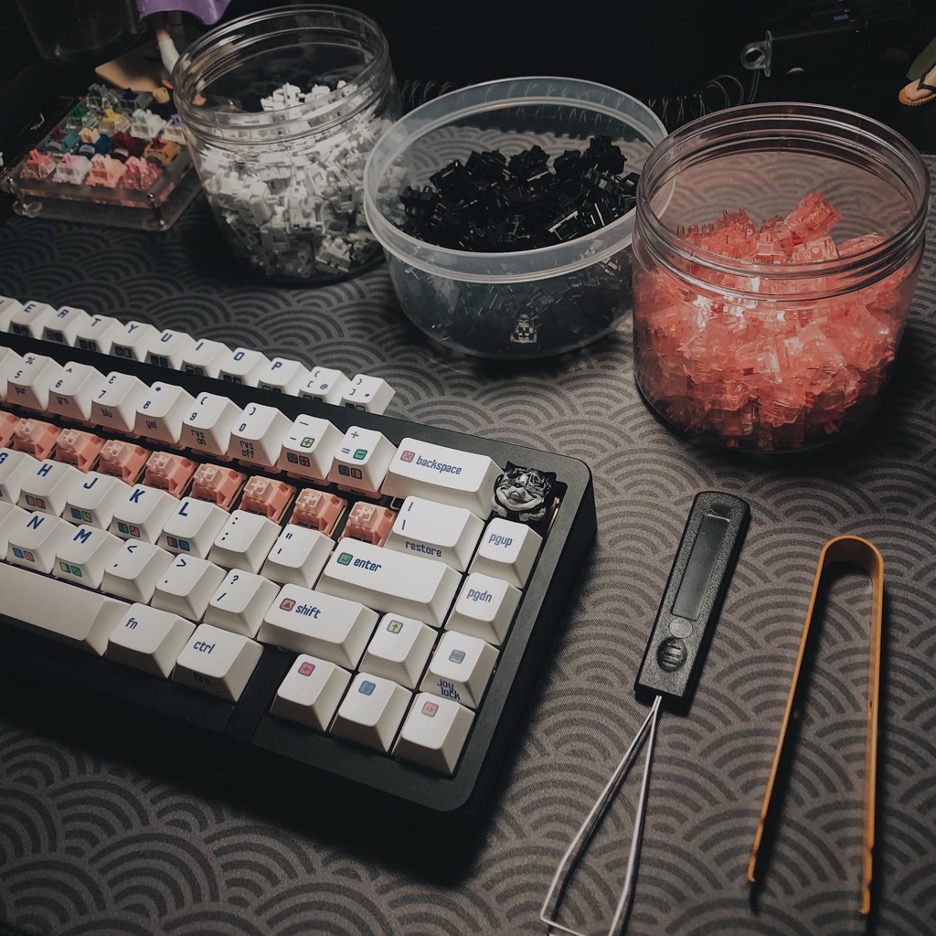
How to remove and replace the switches on a hot-swappable keyboard
To complete the job easily, you will need the following tools:
- Keycap puller
- Switch puller
- Pliers
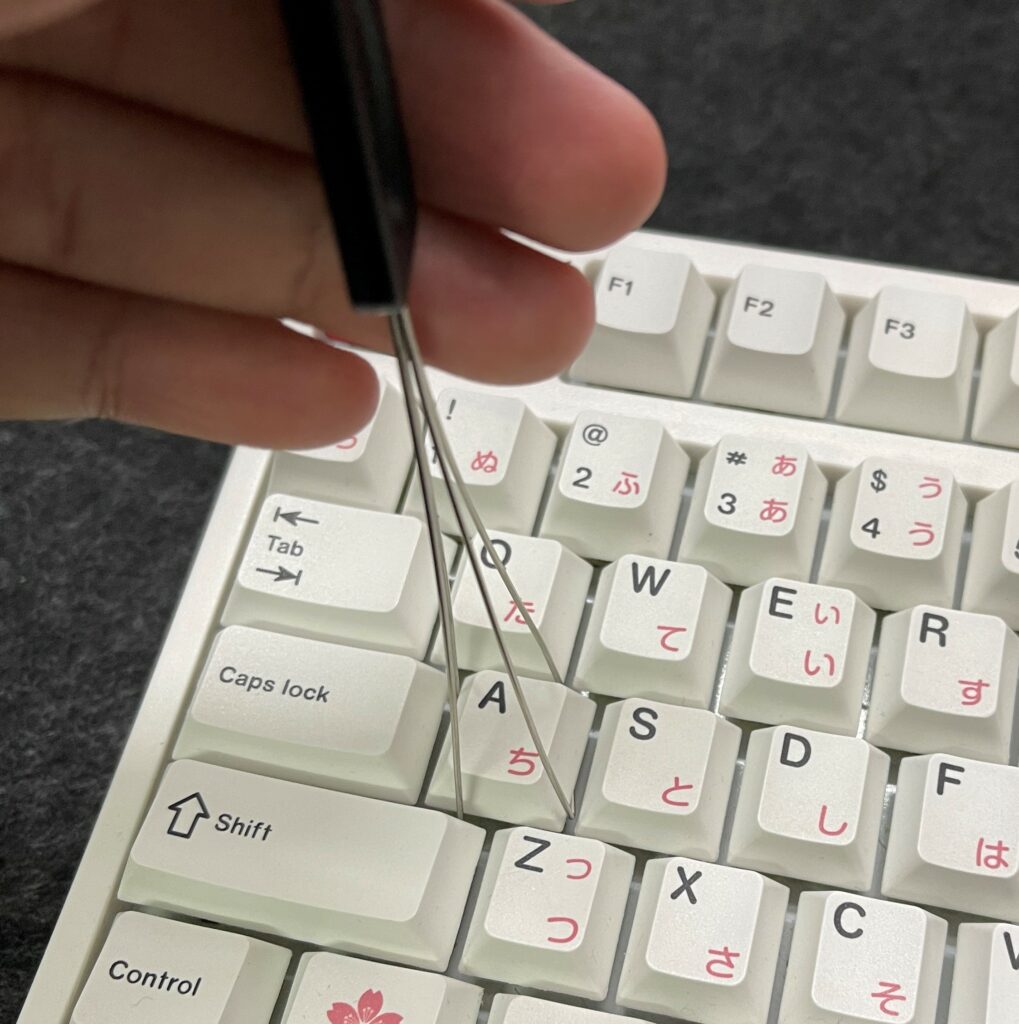
Step 1: Use a keycap puller to remove the keycaps
To access the switches, you will have to remove the keycaps first.
To avoid breaking the keycaps, you should use the keycap puller and gently pull each keycap out.
Step 2: Remove switches using the switch puller
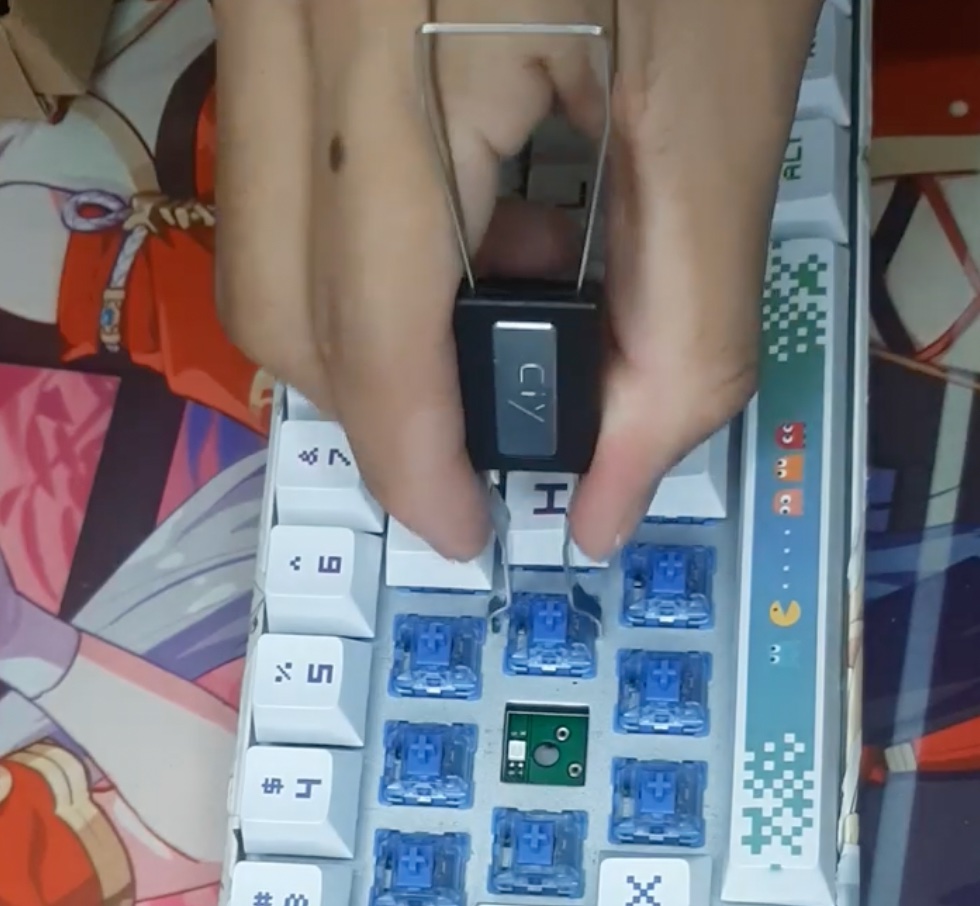
The process is very easy. You only have to place the tip of the switch puller at the top and bottom of the switch, and press the switch puller to take the switch out.
Note that you should not do this with too much force, or you may break the metal prongs inside the hot swap sockets.
Step 3: Install new switches
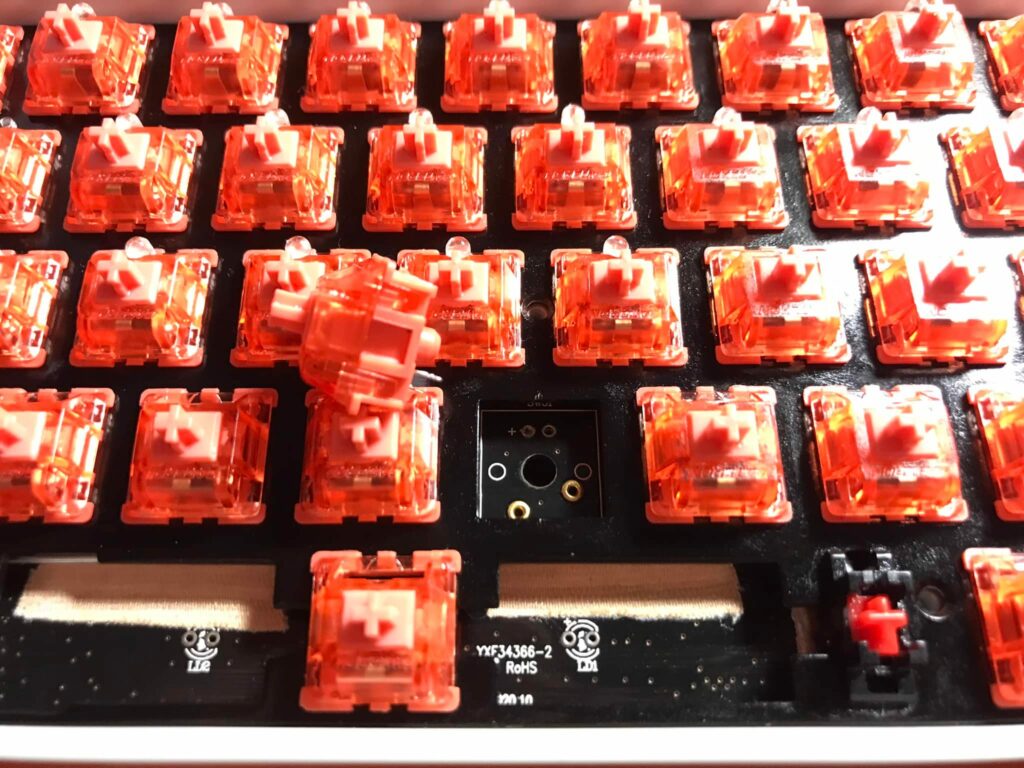
Once you remove all the old switches, you can start inserting the new ones. You should line up the switch pins with the sockets on the keyboard and then push them down until you hear a loud clicking noise.
It means that the switch is now fully inserted, and now you can put the rest of the switches onto the keyboard.
Step 4: Final checking
Once all the new switches are seated, put the keycaps in. By using the online key tester, you can test many keys to see if they are working or not.
And remember to pay attention to the noise to see if they sound right or not.
How to fix a bent switch pin
A pin will bend when the pin switches don’t enter the sockets properly.
You can easily solve this problem by using the pliers to straighten out the pins.
