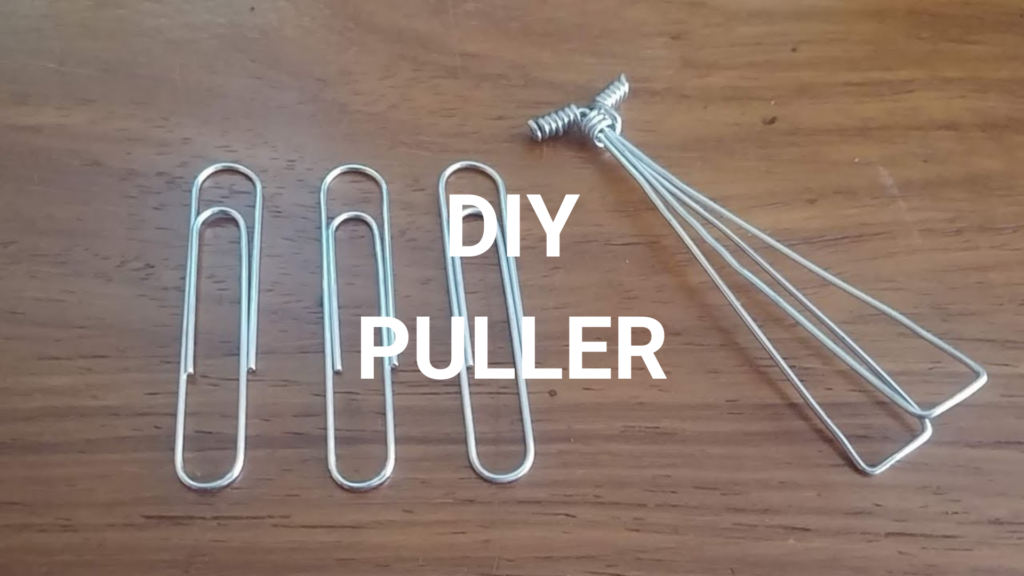
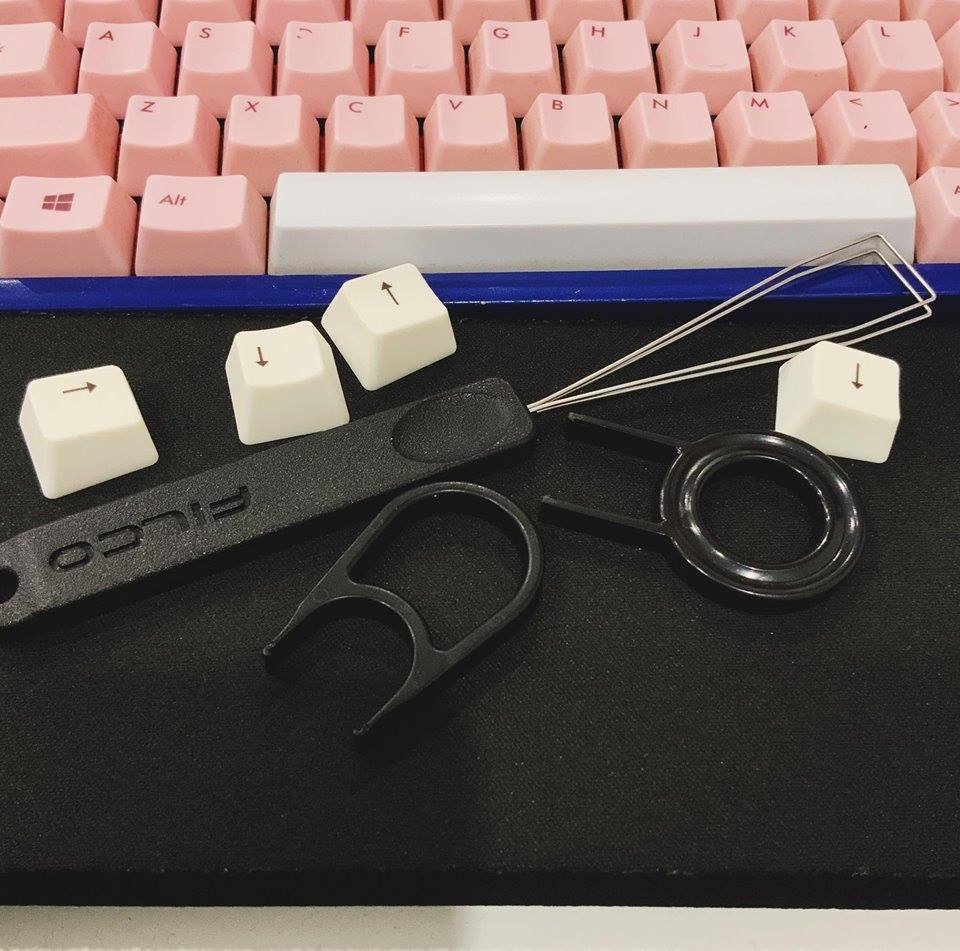
A plastic keycap puller is a common addition to keyboards and keycap sets. These are not advised but do the trick in a pinch. In this article, we’ll explain how to use paper clips and a twist tie to create a better wire keycap puller.
This tutorial was created with simplicity and effectiveness in mind. The next 5 components are all you’ll need to assemble a fantastic homemade wire keycap puller.
Let’s go over each step needed to quickly construct a keycap puller using only a few tools.

How to make DIY Keycap Puller
Step 1: Required Materials
- 2 x Paper Clips (size #1)
- 1 x Twist Tie (plastic preferred)
- 1 x Needle Nose Pliers
- 1 x Ruler
Advice before we begin:
- Choose #1 paper clips, which are the same width as standard wire keycap pullers. They ought to be little thinner than 1mm.
- Twist ties with a plastic coating are recommended because of their increased comfort and robustness. Alongside the rolls of plastic produce bags, paper ones are frequently offered for free at your neighborhood grocery shop. Having some of these on hand is usually a smart idea when purchasing new devices or going to the store.
- Although they are not absolutely necessary, a ruler and needle-nose pliers will greatly simplify your life. If you don’t want to damage the paper clips, tape the ends.
Step 2: Straighten your Paper Clips
Your paper clips will need to be aligned. When straightened out, the #1 paper clips we’ve picked are around 3.75 inches (9.5 cm) long.
Section by section, you may straighten them out using either your fingers or the pliers. The pliers could be needed for the final bend. Any kinks may be straightened out with your pliers.
By comparing them against a level surface or straight edge, try to ensure that your paper clips are straight.
Step 3: Bend the Arms
A wire keycap puller is about the width of a finger, measuring around 3/4″ (1.9 cm) in width. In order to end up with two arms that are the same length, make sure your bends are precise and centered on the wire.
Each arm should be roughly 1.5 inches (3.8 cm) length when bent. Your attempt has probably been successful if your finger can fit between the arms. It must not be too broad in order to fit between the keys.
Step 4: Bend the Pegs
Just be careful not to use more of the pliers than the tip for these last bends. Only the length necessary for the twist tie to fasten the pegs is needed. Maintaining as much arm length as you can is a good idea. The optimal length for each peg is no more than 0.5 millimeters.
Step 5: Do the Twist
Take your twist tie and position it in the middle of your clip pegs. In order to have equal lengths on both sides, fold over each part across the arms. Twist them around the bowed pegs from Step 4 and up. This serves as a handle for pulling as well as a retainer.
The DIY wire keycap puller is now complete after this final step!
Keycap Pulling Tips
You should be able to lift two keycaps if the legs are long enough before having to unload. Although not as numerous as a conventional wire puller, a metal one is unquestionably more effective and efficient.
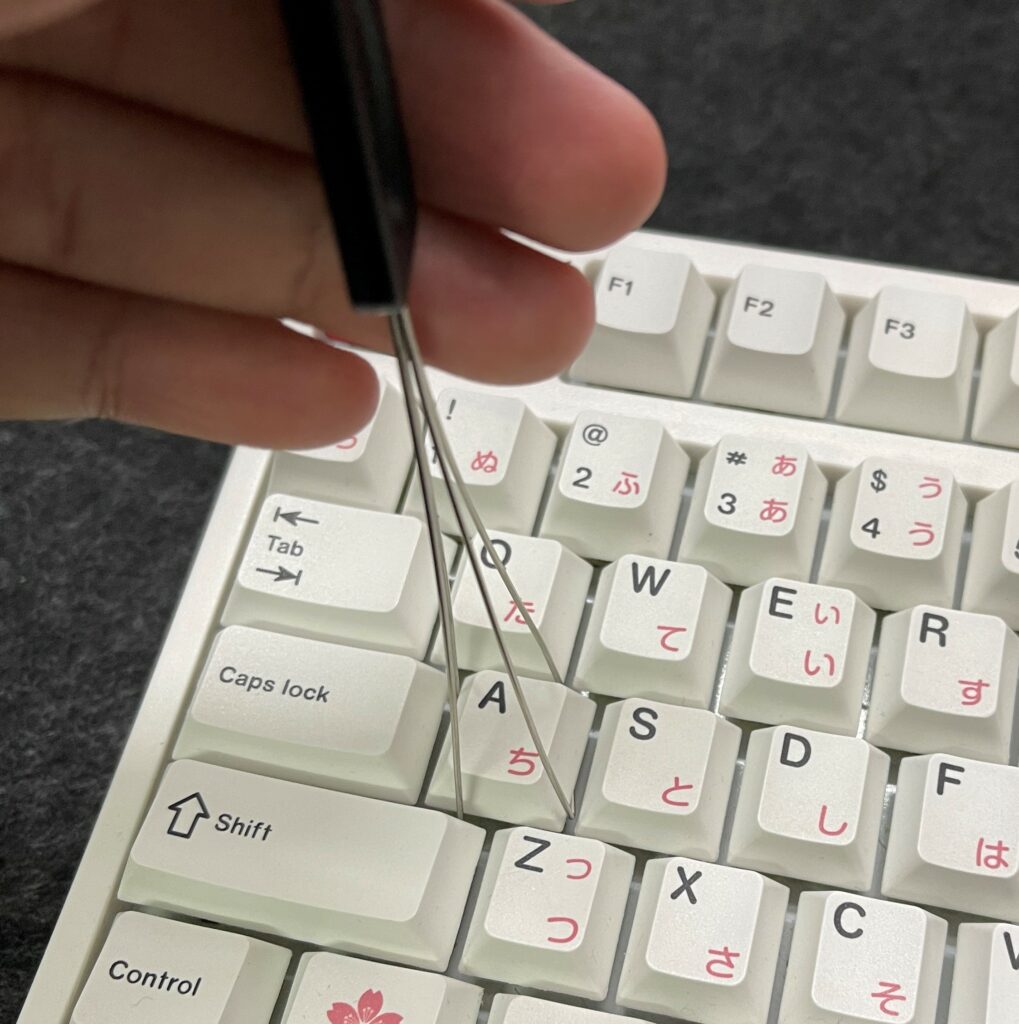
The simplest approach is to make sure the clips are slightly opened. Wrap it around the keycap’s sides and lower it.
After slipping under the keycap, tilt or rotate the puller just a little such that each edge is now tucked under the opposite corner. Now pull straight up slowly and softly. The keycap need to be simple to remove. Repeat with a different keycap. You can move more quickly if you’ve become adjusted to the force needed.
Avoid Jumbo Paper Clips
The wire on a big or jumbo-sized paper clip could be thicker, so you might need to depress the two keys directly to its left and right in order to fit it between the gaps on your hat.
Use a longer paper clip if you can locate one with a wire the same width as a #1 or if you don’t mind having a thicker wire.

Don’t use plastic keycap pullers
A plastic “ring” type puller is typically included when you buy a hot-swap board or keycap set. They appear to be OK at first sight. They could actually be a nightmare for you.
The less serious problem is that they prolong the procedure beyond what is necessary. To draw the plastic legs straight up, you must carefully slide them around your keycaps, wait for the prongs to click, and then do so. You’ll need to remove the keycap out after each pull and proceed one at a time.
For this to function properly, you must be exactly centered on your shorter keycaps. It is easiest to start on one side of longer stabilized keys, move the puller across to the other side, and repeat. On a spacebar, you can understand how unpleasant this is.
This brings me to the greater problem, which is keycap damage. Depending on the keycaps you have, your keyboard may have came with them or you may have bought them separately.
They might cost anything from $20 and $200 in keycaps. The last thing you want to do is risk harming the switch and PCB underneath by carelessly gliding a rough plastic keycap around the surfaces.
In all honesty, keychain accessories made of plastic work better for keycap removal.
Alternative Keycap Removal Methods
You may also use floss, guitar strings, steel wire, armature wire, pipe cleaners, and other everyday objects to remove keycaps. If you’re feeling crafty, you may attach them to a handle like a drilled wooden dowel or a hollow plastic or metallic tube using glue or epoxy.
You might be able to remove floating keycaps from a low profile case with just your bare fingers, but it will probably be challenging and uncomfortable.
Gently peel keycaps off in a vertical motion rather than ripping them off, which might harm the switch below. Although we do not advise it, you are free to attempt it.

Think about buying a wire keycap puller
The cost of “real” wired keycap pullers, which let you remove several caps before unloading and speed up your process, is often low—a few dollars for a generic one with a plastic handle.
They are frequently even included with third-party and aftermarket keycap sets. It is highly advised to get a wire puller if you intend to remove more than a few keys.
Conclusion
If you are reading this article, there is a good chance that you intend to remove a number of keycaps.
You could have spent all of your money on a good set and a few extras to make your board unique. The last thing you need is for a plastic puller to damage your caps, to incur additional costs, or to have to wait around for delivery of something.
With the help of this article, I hope you can construct a key puller on your own, which, while it may not be the best long-term solution, will undoubtedly make your life a lot simpler in the short run.
In particular, if you don’t anticipate changing keycaps more than once, it’s a fantastic option. We strongly advise buying if you anticipate using it more frequently.
In particular, if you don’t anticipate changing keycaps more than once, it’s a fantastic option. We strongly advise investing in a quality wire puller if you intend for it to be more often.
