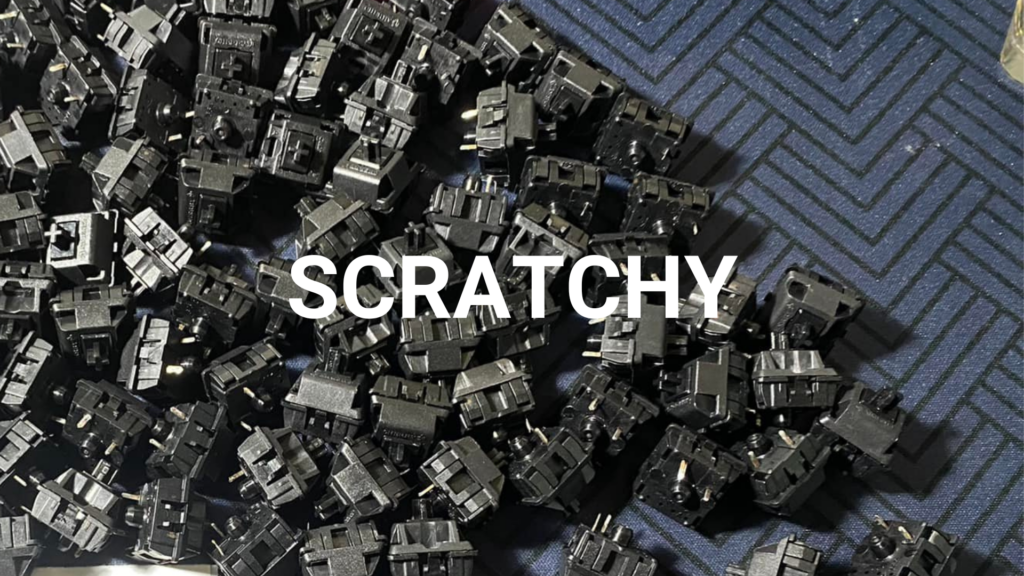
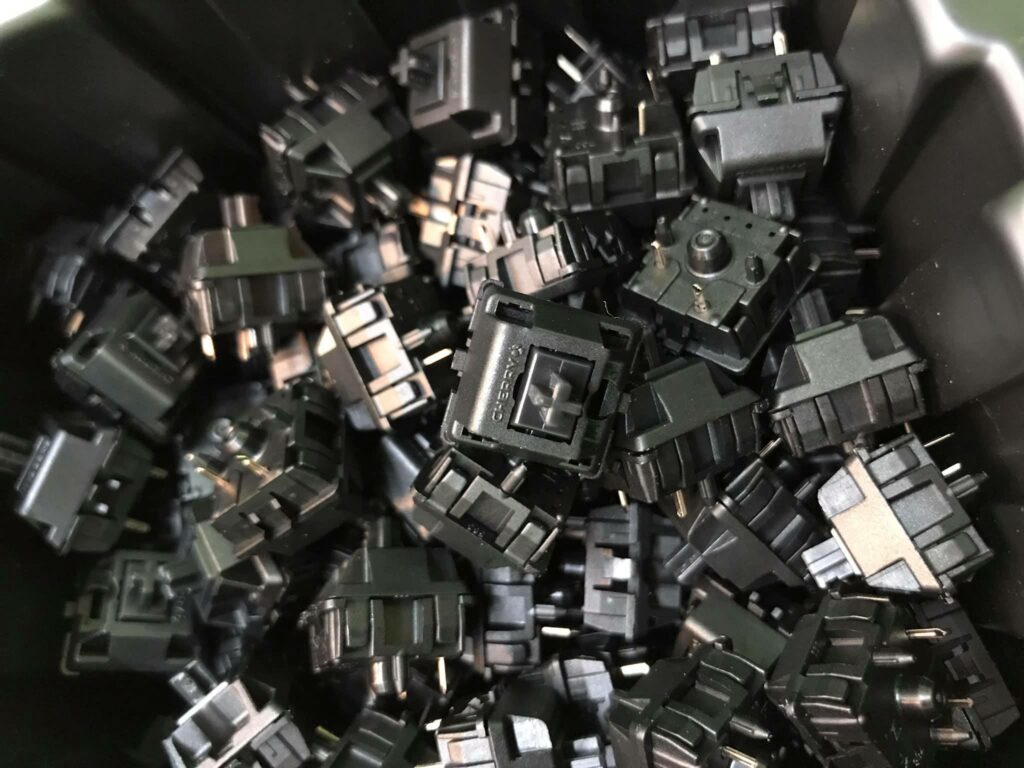
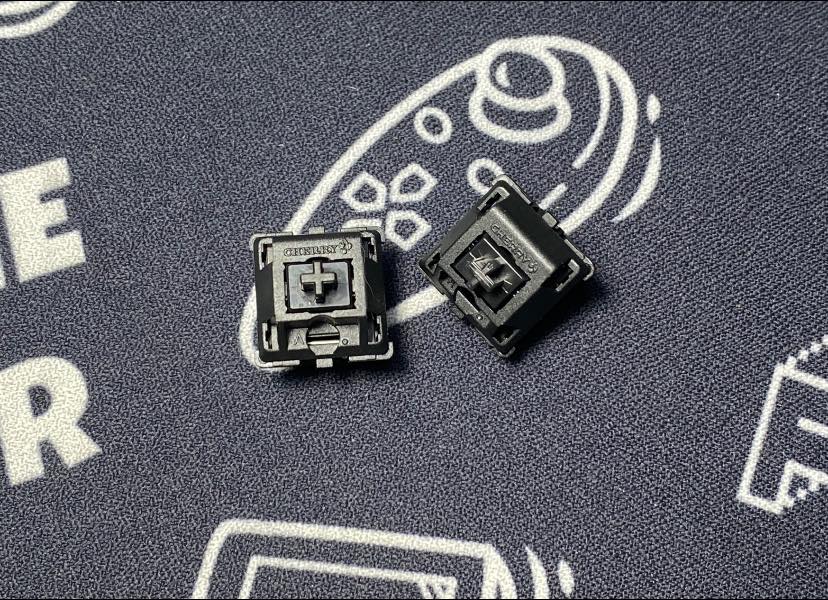
You recently purchased a new mechanical keyboard for yourself with smooth linear switches like Cherry MX Black or Gateron Milky Yellow, but as soon as you touch them with your finger, you become aware that something is amiss. It’s conceivable that the newly manufactured switches feel a little bit scratchy, but don’t worry—the scratchy feeling may be fixed.

How to enhance scratchy switches:
- Use the switch continuously for many weeks to break it in. Most likely, you’ll have to flip each switch up to 1,000,000 times. This is also called “Burn in”.
- To lessen friction and scratching between the switch’s components, lube switches.
We’ll go more into the reasons for scratchy switches and discuss the suggested techniques for breaking in and lubricating your switches.
Why do switches get scratchy?
When you initially purchase a mechanical switch or keyboard, the switches are essentially brand-new and have just left the manufacturer for retail sale. Due to the precise tolerances and newness of every component in the switches, there is very little leeway for movement between the pieces without causing the switches to scratch.
Mechanical switches vary in their initial scratchiness across different brands. The infamously severe scratch on Cherry MX switches, especially reds, has been brought up again. The stem and switch housing nearly have a sand-like texture to them.

Due to a somewhat smaller switch stem that causes less friction between the sliders and housing, gateron switches have a better reputation. This results in a switch that feels smoother to the touch, particularly when it comes to linear actuation.
In any case, using a new switch will probably cause some scratchiness. We’ll go through a variety of techniques to make your switches better and get rid of their scratchy sensation.
The Best Mods for Scratchy Switches
There are two basic ways to cure scratchy switches, none of which are really quick or simple fixes, but if you follow these suggestions, you should notice a significant difference.
1. Break in (Burn-in) your switches
The switches on a brand-new mechanical keyboard will be at their most scratchy right after being purchased. The keyboard’s scratchy sound and feel should gradually start to fade after several weeks to months of use, and the switches should feel smoother.
Many advanced users advises pressing the keys at least 1,000,000 times before a switch is tripped. Because certain keys are pushed far more frequently than others, the length of time it takes varies greatly and is dependent on where the switch is located on your keyboard. For instance, gamers will likely become accustomed to their WASD keys far more quickly than their bracket keys.

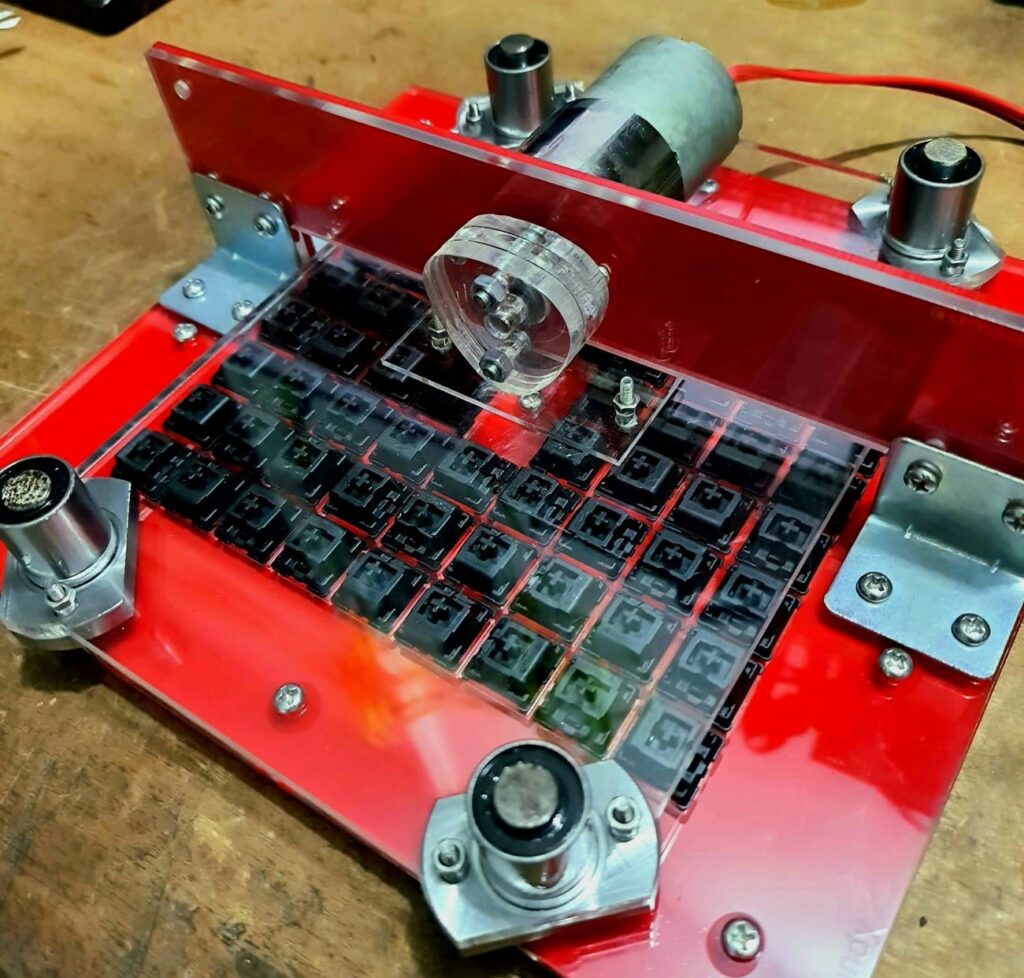
Instead, than merely typing on switches, there are other ways to break them in. This entails setting them on a plate or acrylic lube station and applying regular, daily pressure to them.
Another novel approach I’ve heard is to use a square fan that is hanging and direct it onto the keyboard switches. Many mechanical keyboard aficionados swear by breaking in switches, even if some of these techniques are odd. In fact, a lot of individuals are willing to pay a premium to buy switches that have already been broken in by another person. Pretty insane, huh?
Breaking in a switch feels noticeably better than not, although there are no double-blind randomized trials to support this claim. But from personal experience, I find that after using switches for a while, I generally prefer them. See what you think after using your scratchy switches for a few weeks. The next action is to lubricate them.
2. Lube your switches
There are several advantages to doing lube switches, including less scratchiness, decreased switch ping, improved acoustics, and a smoother switch. If step #1 sufficiently improved your switches, you can probably avoid this step, but it’s entirely up to you. Lubing may be a time-consuming operation.
It is advised to utilize the switches on your new mechanical keyboard for at least a week before disassembling them and lubricating them. It takes a lot of effort to undo the effects of lubricating the switch. This makes breaking in the switches once they have been lubricated exceedingly challenging.
The intervals between switches change. Before a switch is broken in and ready to be lubricated, people advise using it consistently for a few days up to halfway through while playing video games or typing. Typically, we advise a few weeks.
It is advised to use mechanical switches with a self-lubricating POM plastic housing, like Novelkeys Creams, for at least 2-4 weeks before lubricating in order to benefit from the qualities of the plastic. This enables the switch to reduce friction in a more organic manner.
Ways to Lubricate Switches
What does “lubing switches” even imply, to begin with? This procedure includes applying lubricant to a mechanical switch’s moving plastic components to lessen friction. When desoldering the switch and opening it up is not feasible because you lack soldering tools, you may still accomplish it by brushing the lube over the parts, placing the parts in a bag with lube and shaking it, or using alternate ways that we’ll discuss later.
If you are able to remove all of the switches from the keyboard, the following items are required to lubricate each switch:
If you are able to remove all of the switches from the keyboard, the following items are required to lubricate each switch:
- a switch opener for the switch you already own, with housings available in MX or Kailh design.
- a little painting brush
- Lube
- A clean workspace, a lubing station is encouraged but not required to increase efficiency.
- If you intend to bag-lube your springs, a plastic bag (recommended to also improve productivity)
You must disassemble each switch into its component pieces, including the stem, spring, top housing, and bottom housing. The metal contact leaf within the housing, which is frequently gold in color, should not be touched.
Apply a thin coating of lubrication with a tiny brush to the stem and housing areas where plastic contacts plastic during keypress action. If you intend to lubricate the springs using a bag, place all of the springs inside, add a few drops of a thin lubricant, such as Krytox 105 or 106, Super Lube 51010, or 51004, and shake the bag vigorously for 1-2 minutes to coat the springs uniformly.
Read more: How to lube switches
Switches Can Be Lubricated Without Desoldering
What happens if I have a mechanical keyboard that has already been assembled, don’t have soldering supplies, and my keyboard isn’t hot-swappable? We’ve got you covered, so don’t worry.
Switches can be lubricated without desoldering, however we only generally advise this technique for linear switches. Due to the difficulty to precisely regulate where the lube flows on tactile and clicky switches, you run the danger of greatly diminishing the tactility of your tactile bumps and also getting rid of the clicky noises. From switch to switch, the outcomes will vary.
We have discovered two techniques for lubricating mechanical switches without desoldering.
The push-stem lube method, which takes more time and is cleaner, is procedure 1. In order to do this, lubricant must be applied on a little piece of plastic that will be slid into the switch between the stem and the housing. You must carry out this action several times to have constant switch friction.
This approach has the advantages of not making a mess and of not requiring you to disassemble the complete keyboard. Only the keycaps need to be removed.
The second method involves spray-lubricating the switches with a lubricant like Super Lube 31110. Although significantly faster, it is rather disorganized. It entails disassembling the keyboard to expose the PCB and switches. In order to obtain lubrication within the switch housing, you then take the spray and spray into the corner of the switch while pressing down on the step.
The drying time for this procedure is many days. You could notice that the keyboard switches aren’t working correctly for the first few days. They will activate and register after they have dried.
Warning: Using one of these techniques will void the mechanical keyboard’s warranty and may damage your PCB and/or switches. At your own peril, do so.
Read more: How to Lube Keyboard Stabilizers without Desoldering
Lube your stabilizers as well!
One must not overlook the larger keys, like the spacebar, enter, backspace, and shift keys, when repairing squeaky switches. These keys are unique because they also have stabilizers, which prevent the keycaps from rocking back and forth as the keys are depressed. That’s how stabilizer works!
To lessen noise and friction while pressing down the bigger keys, these stabilizers can be modified and lubricated.
If you decide to open the stabilizer, you can lubricate the wire’s surrounding region and the housings of the stabilizer stems to lessen noise by using an interdental brush or a paintbrush.
Read more: How to mod stabilizers.
Other Advantages of Lubing your Switches
Switch lubrication will have an extra advantageous side effect. It will stop the spring sounds that generate pinging noises within the switch.
We discussed three various ways to lessen spring ping, and the best one is to lubricate the springs at the end. The other techniques, such adding a desk pad to type on or inserting case foam, involve less laborious labour.

Do scratchy switches get smoother over time?
There are certain switches known as Vintage Cherry Blacks among mechanical keyboard enthusiasts. Since they were created before 1994 and have been used often for years, Vintage Blacks are regarded as one of the greatest switches of all time. As they are utilized more, they just grow better. It can be quite challenging to get the vintage switches because the retooled Cherry Blacks are not quite as excellent.
After a thorough break-in period, some switches with POM plastic housings, like the Novelkeys Creams, do improve. Some switches, like Gateron Ink switches, JWK linear switches like Durock, Alpacas, and H1s, among others, are smooth in their stock forms. Even if one switch is known to be smoother than another, lubing that switch will almost always be preferable in the long run.
A lubed Gateron yellow, for instance, will feel and operate more smoothly than an unlubed Gateron Ink Black. It is preferred, though. Perhaps some individuals like switches that are more scratchy, and that is just OK.
Conclusion
Depending on the switch and how frequently you use your keyboard, the switches may require an initial break-in time of two weeks to several months to eliminate scratchiness. After that, lubricating the switch will permanently improve how it feels.
Some switches, like Gateron switches and Durock switches, are just smoother in their standard configuration. However, it is still advised to lube them. If it is properly lubricated, even a cheap switch will perform better than an expensive switch.
If you follow both instructions, you should notice a big decrease in switch scratchiness and have switches that are much better all around.
