You can easily find tons of guides out there showing you how to lube the stabilizers on your keyboard. But all of them require you to have a soldering tool to remove switches from the PCB board.
Luckily, there is a way that helps you lube switches without soldering. This option is extremely helpful for people who are new to mechanical keyboards or don’t want to break their keyboard when using a soldering kit.
In this article, we will show you a step-by-step guide on how to lube stabilizers directly, without soldering.

What are Stabilizers (Stabs)?
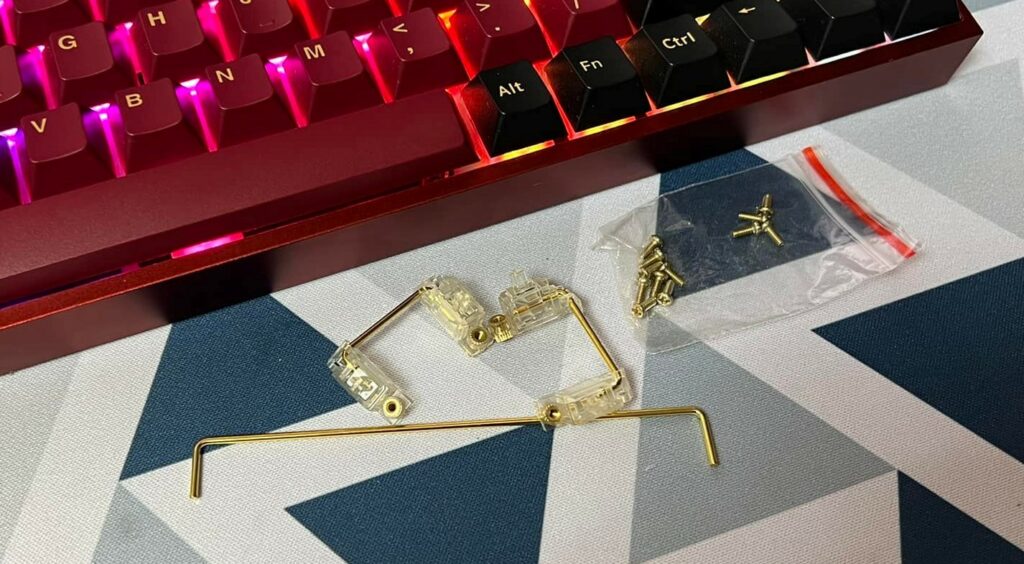
A keyboard stabilizer (stab) is a part that is placed below larger keys like enter, shift, space bar, backspace, and other number pad keys. These stabilizers can help prevent larger keys from moving around while typing.
Stabilizers can be PCB mounted or plate mounted. There are several mounting techniques, including clip-in, screw-in, and plate-mounted.
There are a few different types of keyboard stabilizers, which are Cherry-style, Costar, and optical. Each of them has their own mounting styles, colors, and materials.
Why Do You Need Lube Stabilizers?
Lubing your stabilizers is the simplest and most effective way to provide a better experience on your keyboard.
As mentioned above, stabilizers play an important part in preventing long keys from seesawing around the switches. Since the manufacturers have to ensure wider compatibility with all switch and plate types, which leads to a problem with the stabilizer.
It is impossible to avoid the annoying stabilizer rattle, even if you spend tons of money on buying custom keyboard parts.
Modding your stabilizer will significantly reduce the rattling and scratchiness of the stabilizers, which will lead to a better sound and feel when using your keyboard.
It is very easy to lube stabilizers. All you need are some simple tools, lubricant, and a little of your time.

Is it possible to lube stabilizers without desoldering?
If you are using a keyboard that supports hot-swappable keys, then there will be no trouble when removing the switches.
You just need a switch puller to detach the switch from the keyboard. And then you can do a fully functional modification with both the switches and stabilizers without desoldering.
If your keyboard does not support that feature, according to most guides, you will need to remove the switches by desoldering them from the PCB board.
There is an option if you don’t have access to the soldering equipment or don’t have enough workspace for soldering, which is to lube the stabilizers while they are still attached to your keyboard. This means that you won’t have to remove the switches or stabilizers from the keyboard. Your only job here is to take off the keycaps and use a small tool to directly apply the lube to the stabilizers.
Note that this method is not as effective as the full band-aid, lube, and clip mod. But it can still give you a whole new experience. You will see the reduction of rattling, scratching, and how stable they are.

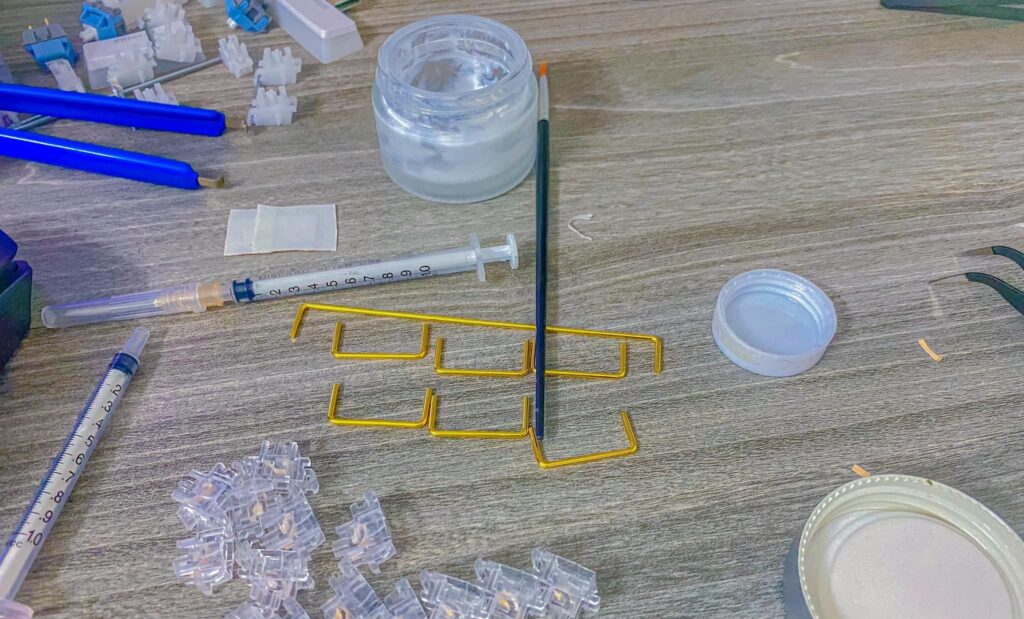
Requirement Tools for Lubing Stabs without Desoldering:
- A keycap puller to remove keycaps.
- Use Dielectric Grease to lubricate the stabilizers.
- A scissor to cut small particles.
- Use a toothpick or an interdental brush to lubricate the stabilizer parts.
- Tissue for cleaning lubricant.
We will use two types of lubricant: dielectric grease and synthetic oil. The dielectric grease can be found easily at any hardware store. For the synthetic oil, you may want a high viscosity one.
A keycap puller is needed to easily take them off and avoid damaging the keycaps.
You will need tissues or cotton swabs for cleaning up after you are done lubing.
Our best recommendation here is to use an interdental brush to apply the lubricant. Or you can simply use a toothpick to get the job done.
How to lube stabilizers without desoldering
Step 1: Remove the keycaps by using a keycap puller:
The first thing to do here is to remove all the keycaps from the switches with a keycap puller. This is mainly to avoid other parts getting exposed to lubricant while lubing the stabilizers.
Or you can only remove keys that have stabilizers and some keys around them for extra workspace.
Step 2: Apply the lubricant to a toothpick
You should not put too much lubricant on the toothpick; just a small amount of it is fine. For a more professional setup, you can use an interdental brush.
Now you can start inserting the toothpick or brush into the gap between the metal rods and stabilizer. Make sure that you fully put the lubricant around the metal rod.
Use the tweezers to lift the side of the stabilizer. It will help you push the lube underneath the stabilizer better.
Step 3: Remove any excess lubricant
Use a tissue or a cotton swab to clean all the lubricant that is exposed to the plate and mechanical keyboard switches. If you have any problems while cleaning the lubricant, you can use isopropyl alcohol.
Step 4: Install all keycaps again
Before putting all the keycaps on, you can put larger keys on to test the sound and see if the stabilizer has been evenly lubricated. Pressing the button will also help spread the lubricant to the untouched area of the stabilizer. If you don’t hear any friction sound, you can start installing all the keycaps back onto your keyboard.
Conclusion
Lubing the stabilizers without desoldering can save you lots of time and some money on buying soldering equipment. Also, if you are not professional when it comes to mechanical keyboard modding, this will give you an easy step into this world.
By using a simple tool, you can still see a significant improvement in your keyboard sound and feel.
