Stabilizers in your mechanical keyboard play a significant part in keeping the long buttons steady while typing (Shift, enter, space, backspace…).
So, it is very annoying to see a stabilizer that is wobbly and scratchy.
We all certainly want solid keys that can produce the ideal thock sound to improve your experience when using your keyboard.
You can solve this problem by modifying your stabilizers with band-aid, clip, and lube mods. These mods will significantly improve typing feel and sound, and reduce the amount of stabilizer rattle after each keystroke.
What are stabilizers?
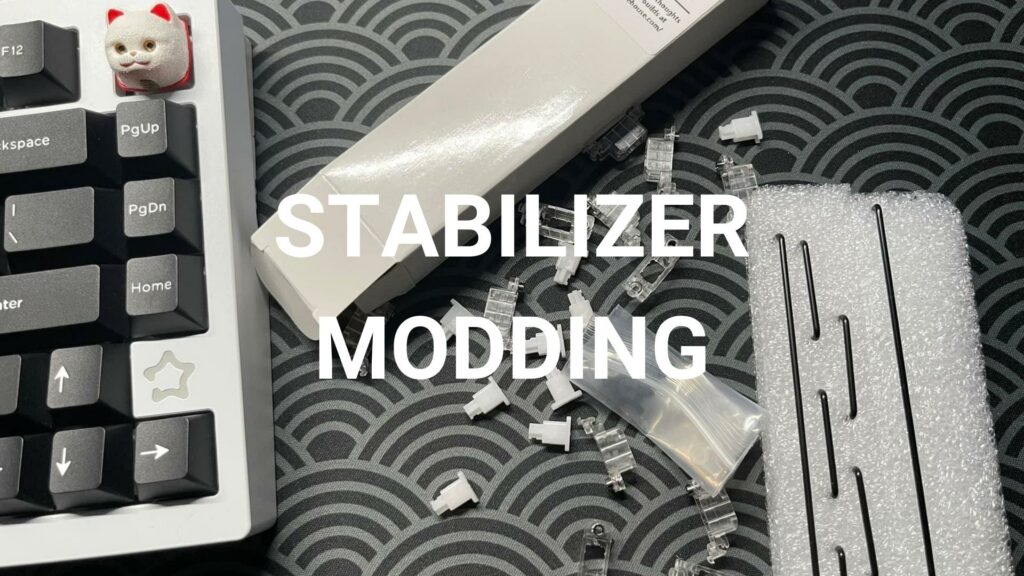
Stabilizers (stabs) are essential components that are placed under the bigger keys to help them stay stable when typing. In other words, they can prevent the keys from shaking, clicking, and tilting. They can also be found on a number pad on a full-sized keyboard.
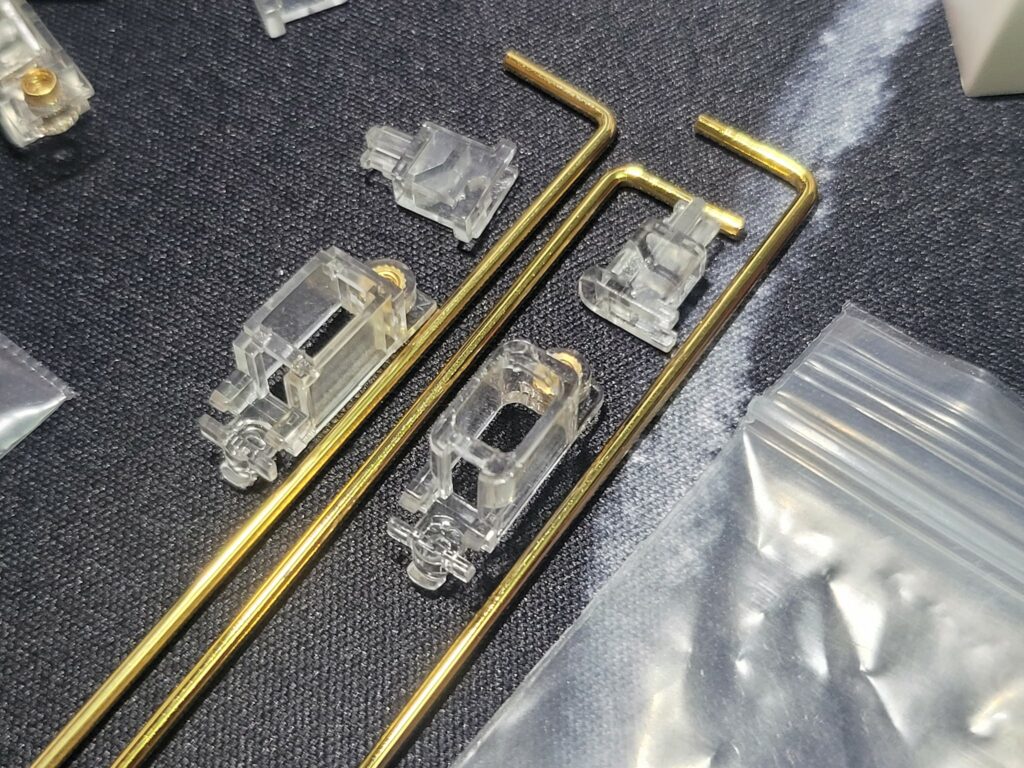
Several types of stabilizers are out there on the market, which are Cherry, Costar, and Optical. There are many more, but we will only talk about the most common ones. You can check out their specifications in the article: How Mechanical Keyboard Stabilizers Work
Why should I mod the stabilizers?
The main reason why you should modify (mod) stabilizers is to improve the balance of your keys so that you can use them comfortably and peacefully. Modifying the stabilizer is not as expensive as changing keycaps. The cost is not that much, although it may take some of your time, but it has a huge positive impact on the mechanical keyboard.
There are plenty of benefits from modifying the stabilizer on the mechanical keyboard, which include your keys becoming stronger and more balanced. To lessen the vibration on the buttons, avoiding the collision of the buttons with the PCB plate, and reducing the sound of every keystroke.
Requirement tools for modding stabilizers
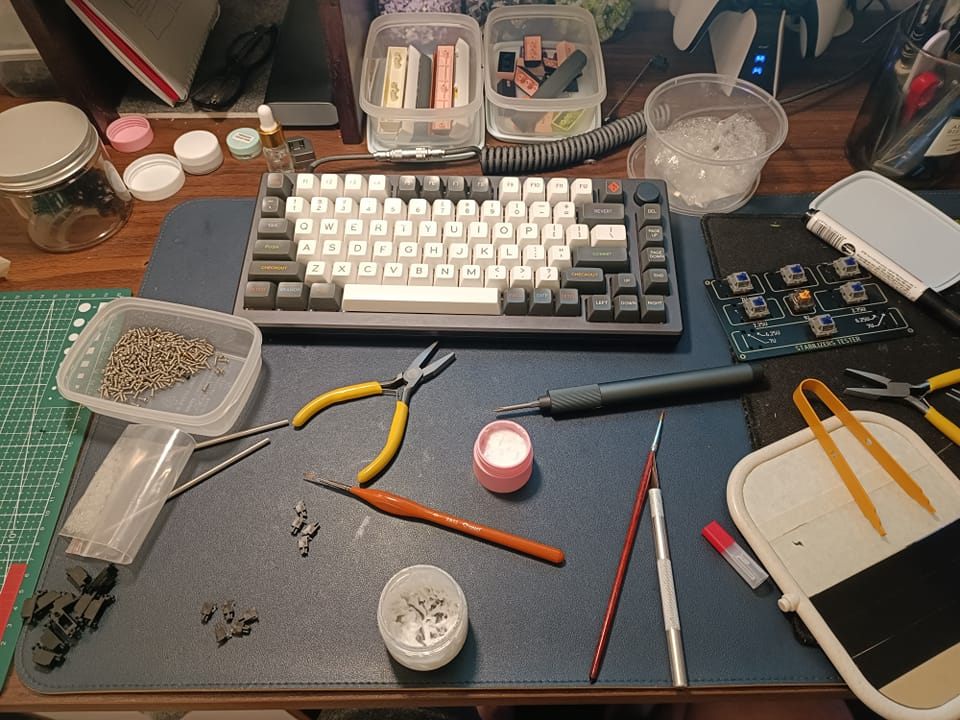
To modify the stabilizers, you will need some of the basic tools. Most of them are pretty cheap, so you do not have to worry about the price. If you are using a hot-swappable keyboard, you will not need a soldering tool to de-solder the switches. If not, you will need to buy one.
- A keycap puller: To remove the keycaps
- A switch puller: To take off the switches from the PCB
- Screwdriver
- Scissors
- Tweezers: To hold small objects
- Band-aids: For coating the PCB on the part where the stabilizer stands
- Nail clippers or wire cutter
- Krytox 205G lubricant
- Dielectric grease or Permatex: For stabilizer lubing
- Paint brush
How to Mod Stabilizers (Step-by-Step)
Preparation Steps
Before modding your stabilizers, you will need to do a few things first. This includes taking off the keycaps and switches on the stabilizer keys and removing the stabilizers themselves.
Remove the keycaps
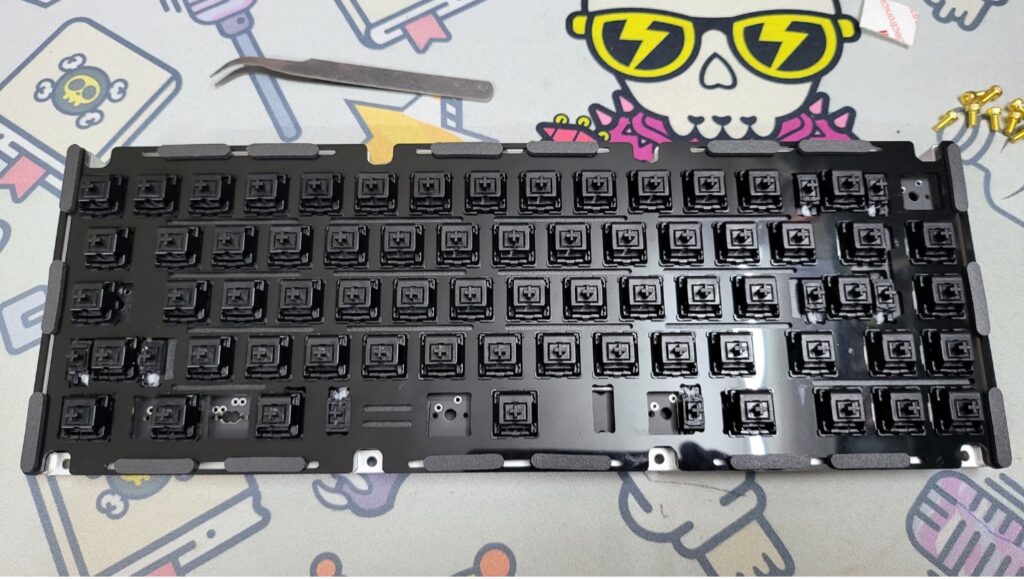
You should use a keycap puller to remove all the keycaps on the stabilizer keys, and some of the surrounding keycaps for extra working space.
Remove the switches
In this step, if your keyboard supports hot-swappable, you can use a switch puller to remove the switches from the stabilizer buttons. If not, you will have to de-solder the switches from the PCB.
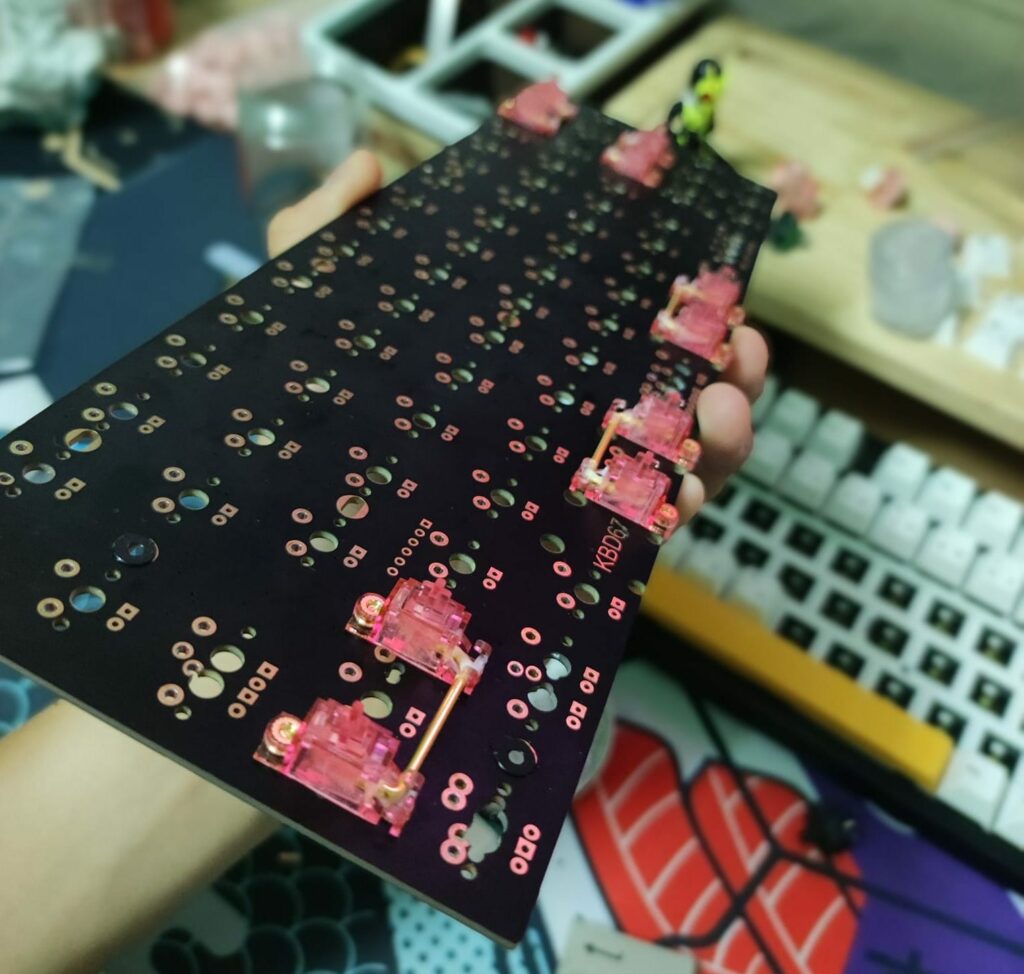
Remove the stabilizers from the PCB
To release the stabilizer, you need to press the small lever on the stabilizer (this is for the stabilizer mounted on the plate).
If the stabilizer is installed on the PCB, you have to use a screwdriver to remove the screw.
Once you completely remove all the stabilizers, you can start the modification process.
The band-aid modification
In this process, we will place band-aids on the PCB, which will dampen the sound of the stabilizer and protect the PCB from unnecessary impacts from the stabilizers. You only need to cut to the size of the stabilizer mount area and add a little dielectric grease on the surface of the band-aid before placing the stabilizer.
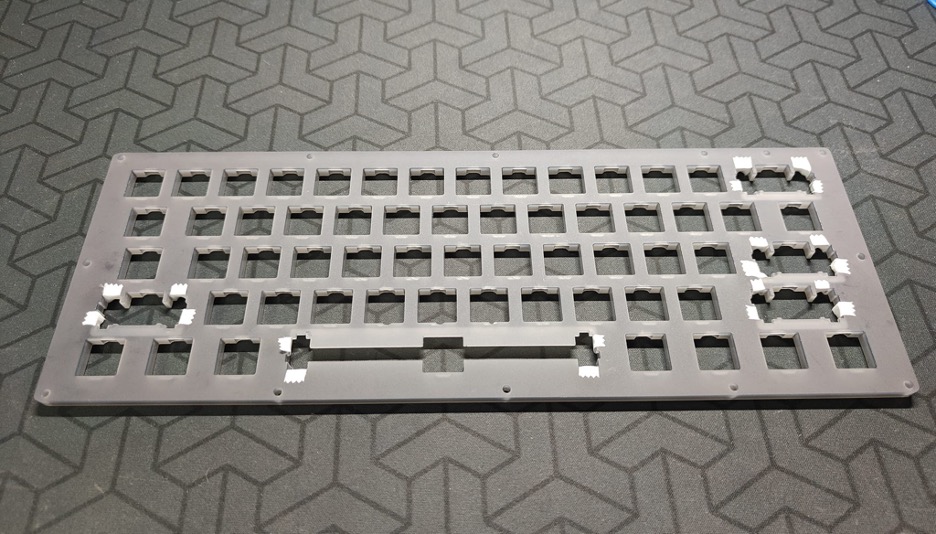
Step 1: Cut band-aids to fit the size of the stabilizer holder:
Cut the band-aids into small pieces, about ¼” (6mm). For each stabilizer key, you will need two of the band-aid pieces.
Step 2: Place band-aids on PCB:
You will need to install the band-aids on the PCB right underneath the stabilizers by using the tweezers. Make sure that the band-aids are flat and sticking properly. Start by applying a minimal amount of dialectic grease to a small paint brush. Brush the grease on the band-aid, it should be thin enough to cover the band-aid and darken its color to a certain degree. Repeat for all stabilizer slots.
The clip modification
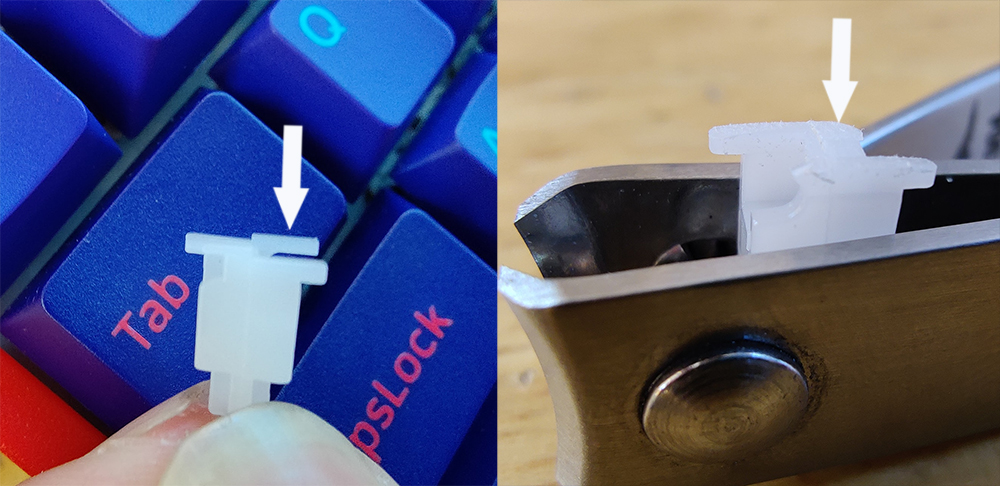
This process involves cutting off the bottom part of the stabilizer insert that is not needed. The reason is because that extra part is the main cause of making the stabilizer wobbly and unstable. Make sure that you are careful when doing mod clip stabilizer, you certainly do not want to cut the stabilizer wrong since it can cause serious damage to your stabilizer.
Disassemble the stabilizers:
To take apart the stabilizers, the first thing to do is to remove the metal bar from the stabilizer housing. Then hold on to the stabilizer housing while picking up the bar to remove it. After you get the stabilizer bar out, you can slide the stabilizer insert out of the housing.
Clip the stabilizer feet
This process requires you to be careful not to do the wrong thing when cutting parts of the stabilizer. The cutting part here is the rectangular section on both sides of the stabilizer inserts.
When you have finished cutting according to our instructions, you can start to reassemble all components of the stabilizer into the housing.
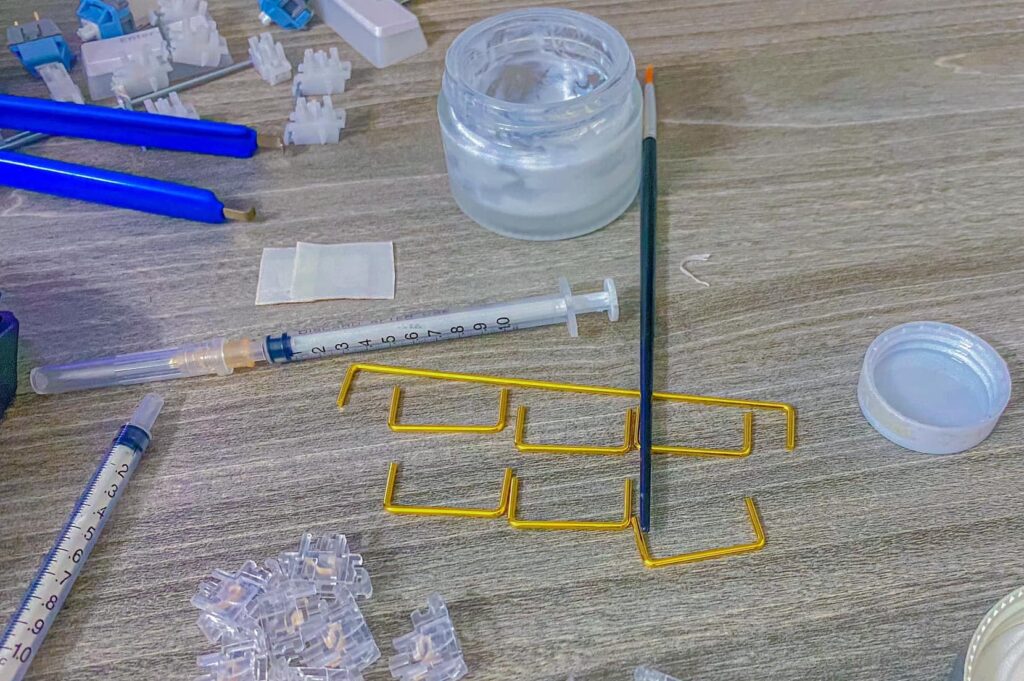
Lube stabilizers
The main goal of adding lubricant to the stabilizers is to help them glide smoothly instead of scratching. Lube modifications have the best results for stabilizers’ performance among other modifications, so you should not ignore this method.
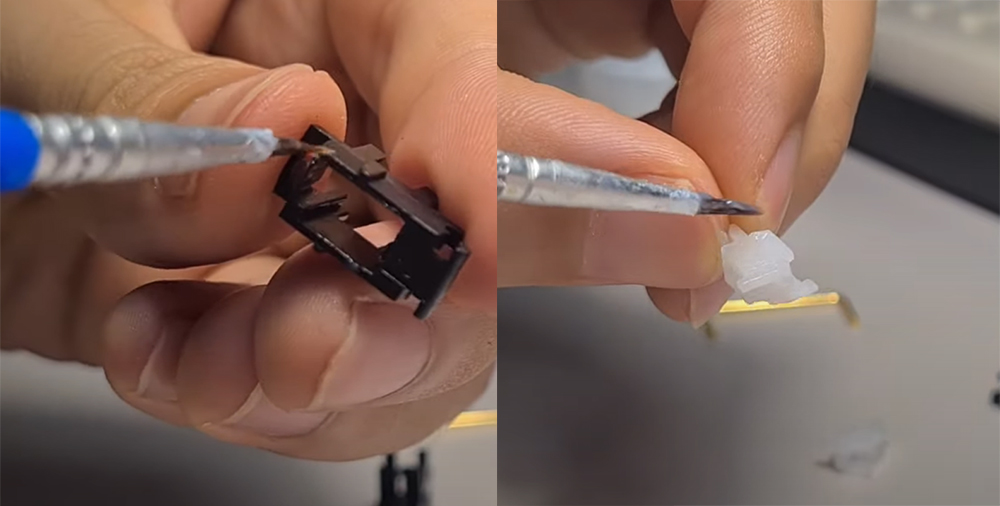
This modification also makes the stabilizer more slippery to avoid friction between components. Therefore, it makes the stabilizers more durable and smoother. All you need to do is to lubricate the parts where the components move the most, like the mounting metal rods, and stabilizer housing.
More: How to lube switches
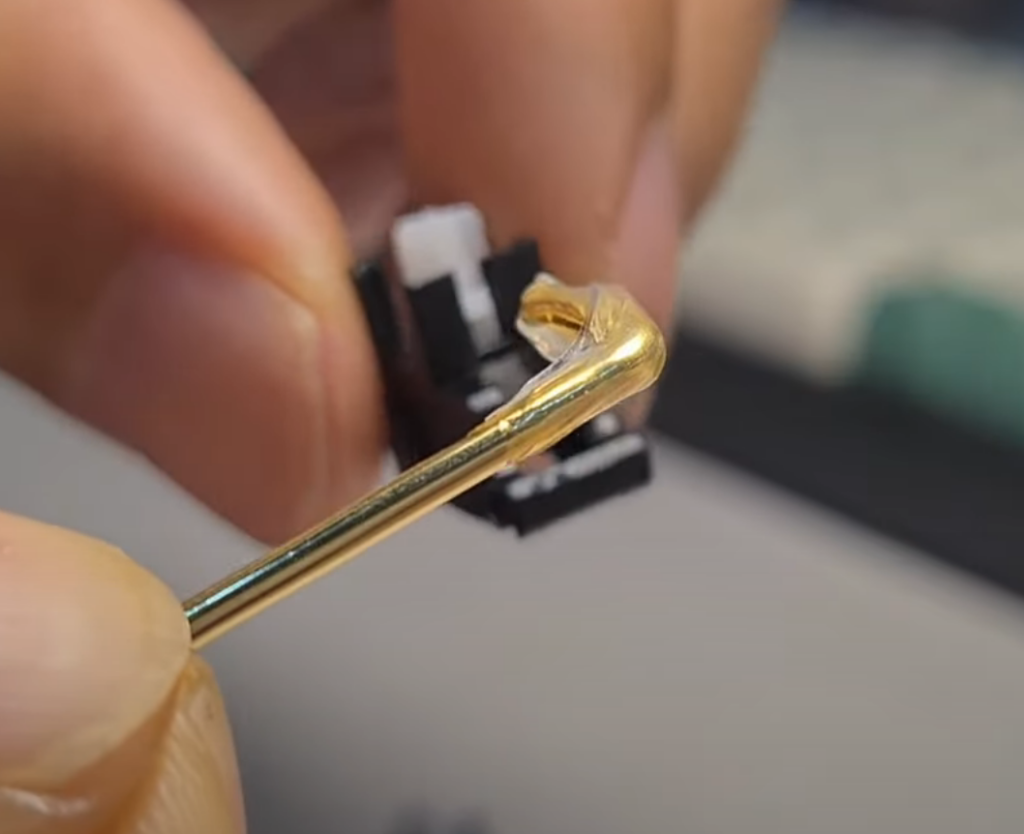
Lube the metal wire bar
By adding lubricant to the metal wire using Permatex, you won’t have to lube the stabilizer housing since the rod will be inserted into it.
You can directly put the metal wire into the lubricant or use the brush to apply the lubricant.
You should not put too much lubricant to avoid spreading the lube onto the PCB and the mechanical plate of your keyboard.
Read more: How to Lube Keyboard Stabilizers without Desoldering
Assemble all the stabilizer components
Now all the stabilizers have been band-aided, clipped, and lubed, you can reinstall them into the PCB.
Do a few tests to check if they work properly or not by pushing on one side of the stabilizers, if the other side also moves, then the job is completely done. You can move on to put all the switches and keycaps back to your keyboard.
Conclusion
Stabilizers really play a massive role when it comes to customizing your mechanical keyboard.
This is literally the best mod for all keyboard lovers, although it could be annoying sometimes. But remember that practicing makes perfect. Never stop learning.
By using our simple mods to your stabs as mentioned in this article, you can significantly improve your typing experience by a lot. There would be no more rattle sounds, or the annoying sound caused when your stab wire hitting the PCB/plate anymore.
Simple adjust makes huge step ahead.
