Desoldering mechanical keyboard may appear daunting and difficult at first, but it’s simpler than it seems. You can desolder all of the switches with ease and confidence once you understand how to do it.
Desoldering mechanical switches is recommended for a variety of reasons, mostly for changing switches, which is included below the tutorial’s step-by-step instructions. Let’s get started. Before grabbing your soldering iron and starting the procedure, make sure to go through all the stages and have a solid knowledge of it.
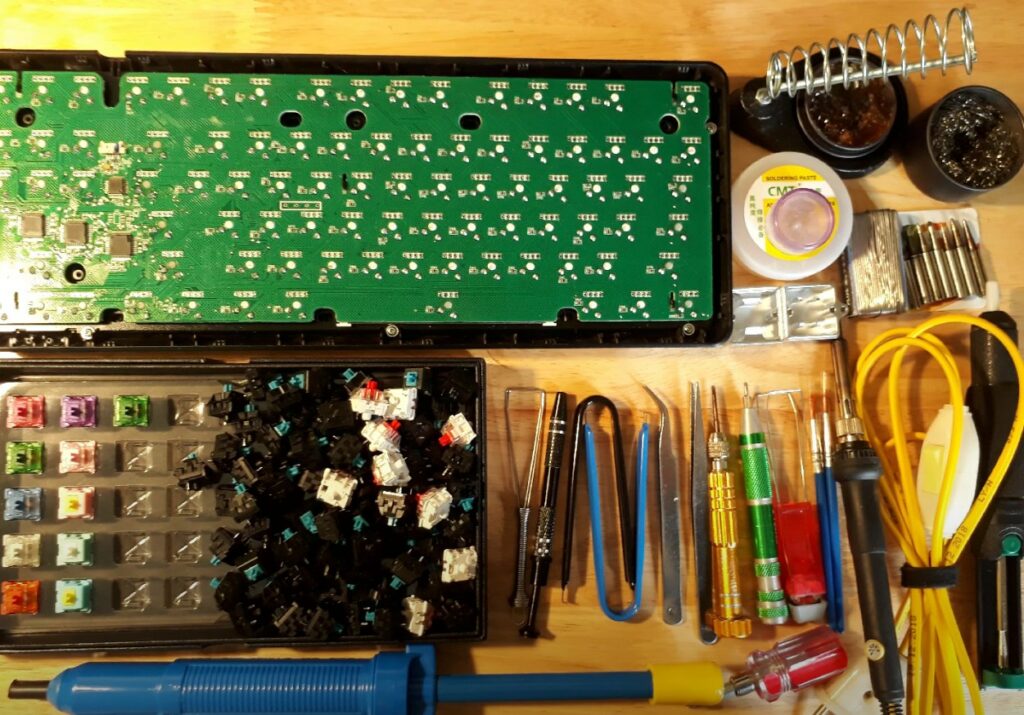
Necessary Tools for Desoldering Keyboard
You will need a number of items for the desoldering procedure we’ll discuss. Although there are different desoldering techniques, we found this to be straightforward and affordable.
If you are looking for an easy way to lube switches without desoldering, take a look at the mentioned guide in case you don’t want to be too advanced into this, or simply because you don’t have the required tools.
1. Soldering Iron With a Stand and Brass Cleaner
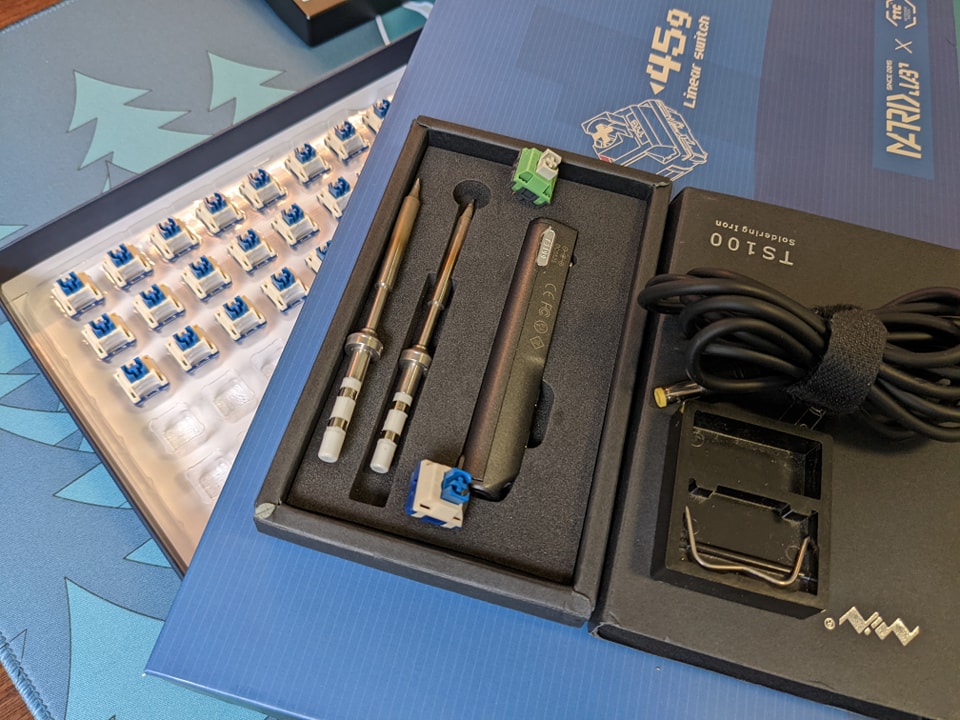
A decent soldering iron will have temperature settings that can be adjusted. You need read the instruction manual to learn how to switch on/off, adjust the temperature, and put the soldering iron on standby whether it is a full soldering station or a portable soldering iron.
TS100 soldering iron is what we employ. It is portable and features a screen on the iron’s side that displays the temperature. A soldering stand with a tip cleaner attached is another useful but not necessary accessory.
We advise using a stand primarily for security concerns. Your soldering iron should be placed in a secure location where you won’t mistakenly touch it. After several usage, brass cleaning is necessary to maintain the cleanliness of your iron’s tip. Otherwise, solder may build up on the tip, making the task more messy.
2. Solder Wire
The correct soldering wire will enable you to complete the task without much difficulty. Either 63/37 Sn/Pb or 60/40 Sn/Pb will make an excellent soldering wire. This indicates that it contains 60% tin and 40% lead. For delicate electronics, additional lead in your solder will make desoldering simpler.
3. Solder Sucker
An inexpensive and effective approach to remove solder from keyboard switches is with a solder sucker. Also known as desoldering pumps, these. In essence, they employ a pump that you press in for each usage to suck up the liquefied solder.
4. Large Space Outdoors Or A Ventilation Fan
It is recommended to work with solder outside or with a ventilation fan. Solder heating up releases poisonous gases that might impair your ability to breathe for a prolonged period of time.
5. The Keyboard That You Want to Desolder
You will need the keyboard you wish to desolder, of course. preferably the PCB.
6. Switch Puller
For switches that are plate-mounted, a switch puller is helpful. You won’t need a switch puller if you’re dealing with PCB-mounted switches. It only facilitates removing the switch from the plate.
7. Keycap Puller
If you have not yet dismantled your mechanical keyboard, having a keycap puller is helpful. If your PCB is ready to be desoldered, move right forward to the steps.
8. Screwdriver Kit
To disassemble any mechanical keyboard and detach the PCB from its shell, a screwdriver kit is helpful.
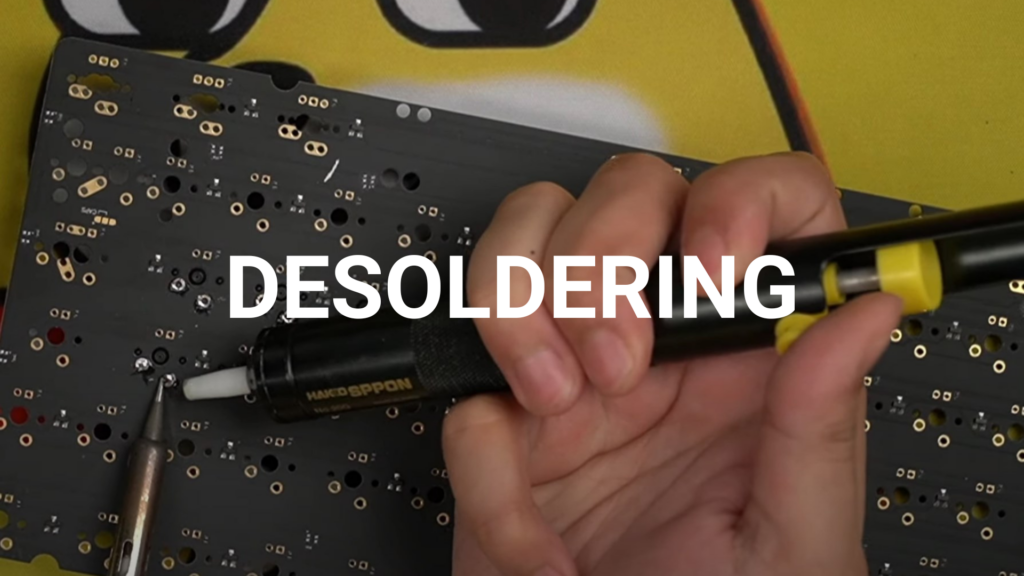
The Steps for Desoldering a Keyboard Switch
Before beginning, be sure you are familiar with all the processes since after your soldering iron is fired up, it can only hold a heat for a short period of time before the handle begins to warm up.
1. Disassemble The Mechanical Keyboard
Go directly to step 2 if your PCB and casing are already separated. If not, you should do that right here.
Use a keycap puller of your choosing to first take the keycaps off the switches before disassembling your mechanical keyboard. A secure area away from where you will be desoldering is where you should keep them. You don’t want to unintentionally melt your keycaps’ delicate plastic.
Next, locate the fasteners holding your case together. Typically, you can find them on the base of your keyboard case. If they are hidden, they could be found behind the rubber feet that prevent your keyboard from moving if they are not visible.
The PCB will probably need to be removed from the mounting posts on the case’s bottom after the case has been opened. On the PCB, there are screws positioned between the switches. Remove them and store each of your screws in a safe place. This is an excellent time to fill up any magnetic holding trays you may have with all of your screws.
Your keycap remover, switch puller, and disassembly tools may now be stored or set aside.
2. Place Everything on a Heat Insulated Mat
If you’re working on a surface that can quickly heat up and melt, the next step is to set your PCB down on a heat-insulated mat. Using a heat insulated mat will protect you and all of your parts even if you are not. Desk mats (or two) will work just as well to protect the surface you’re working on if you don’t have a heat-insulated mat.
Make sure the space where you’re working is adequately ventilated. We advise carrying out this activity outside, but if you are confined indoors for whatever reason, make sure a window is open and a fan is running to move the fumes away from you.
Have an easy access point for your soldering iron, solder sucker, and solder wire at your side.
Wear eye protection so that no spatter goes into your eyes. This is a safety precaution. It doesn’t have to be Z-87 certified goggles, but there should at least be some type of eyewear. We enjoy wearing blue light-filtering spectacles (only because we already do).
3. Determine Which Switch Needs to Be Desoldered
You can move directly to Step 4 if you’re going to desolder each switch.
Make sure to identify the precise switch if you just want to desolder that one. Marking the bottom of the switch you wish to desolder with a small piece of tape or a dry-erase marker is an effective way to achieve this.
It’s really simple to flip your PCB over and then forget which switch you’re supposed to be desoldering.
4. Turn on Your Soldering Iron
Depending on the soldering iron, you may need to flick a switch or push a button to turn it on.
Set the soldering iron’s temperature. Around 350-380°C has worked well for me in the past. You might need to raise the temperature a little bit for prebuilt keyboards made by Razer or Corsair since their solder has a different composition and melts at a higher temperature.
When the soldering iron reaches the desired temperature, let it signal you. Typically, your soldering iron has a limited operating period before it gets uncomfortable for you to handle (at least mine is like that).
Tin the soldering iron by adding a little bit of soldering wire to it when it is ready. This aids in the solder joint you wish to remove being heated up by the iron.
To prevent unintentionally contacting it, place your soldering iron on a stand of some kind. It is extremely hot and can rapidly result in burns.
5. Prepare Your Solder Sucker
Have your solder sucker at the ready close by. To prime the pump, depress the plunger.
Check to see if there is any solder left in the pump or tip if you have previously used it. Desoldering won’t be as effective if there is still solder present.
6. Prepare the Soldering Wire (For Step 9 If Needed)
You generally don’t want to miss this step if you are desoldering a stock prebuilt mechanical keyboard from a large firm. To remove the old solder cleanly, you might need to be ready to apply more solder to the junction.
This may resemble unreeling a little amount of solder from your spool, depending on the type of solder you have. This may resemble pulling it out of a cylindrical container and detaching a piece at the top.
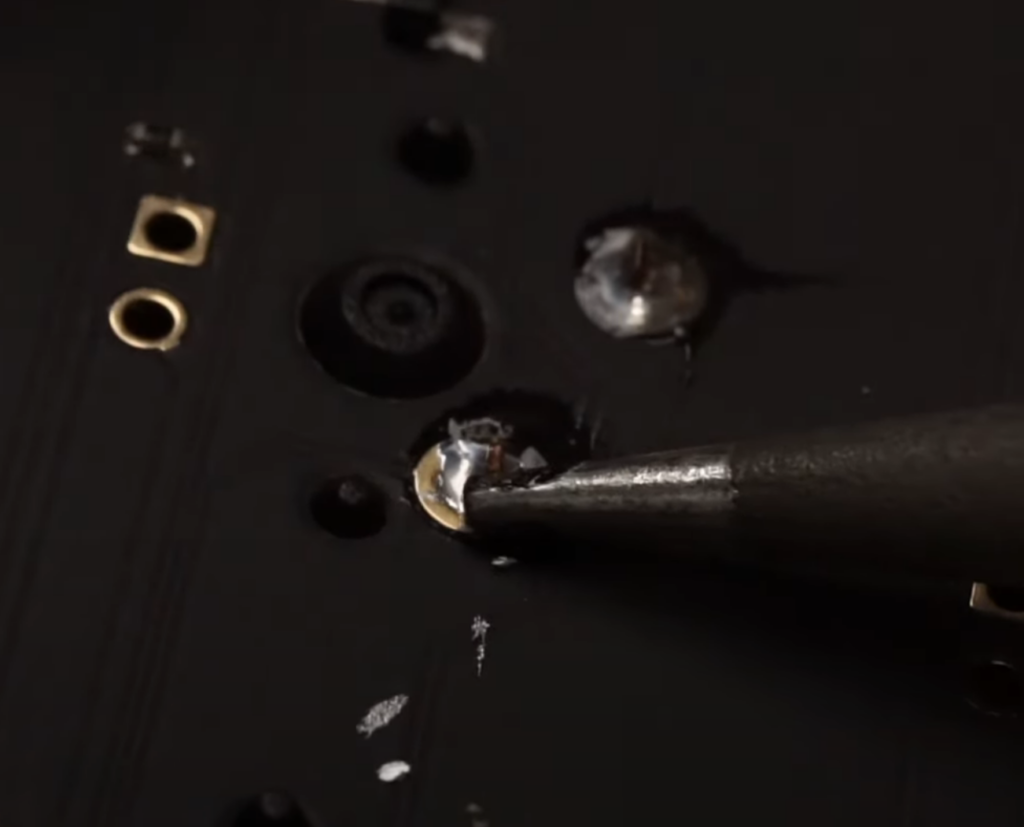
7. Heat Up The Pad Where the Switch Pins Are
Pick up your soldering iron, and make sure the tip touches both the pin and the pad.
Hold it there for about two seconds while applying medium pressure. As the solder becomes more liquid, you’ll notice it.
You might need to heat up your soldering iron to a higher temperature if the solder isn’t melting more readily. Because the solder sucker utilizes air to remove it, the temperature needs to be greater because the air will reduce it.
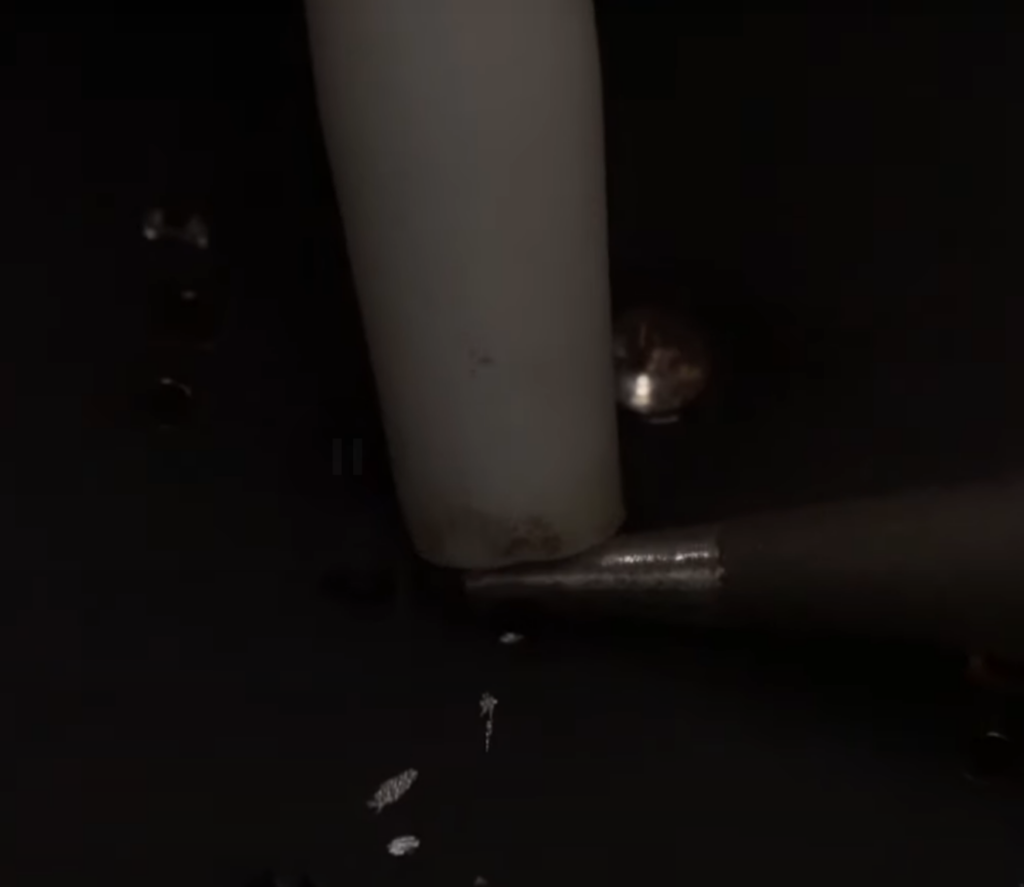
8. Use Solder Sucker to Suck Up Solder
Place the solder sucker tip on top of the iron and the pad while it heats the pad and the solder (with the soldering iron tip still there). To remove the solder, press the button.
The soldering iron tip may now be taken from the pad, cleaned with the brass cleaner, and placed back into its stand. Check to see if the solder has been eliminated.
There might be a number of causes if the solder has not been removed. Either the solder wasn’t hot enough, or the sucker wasn’t strong enough to remove everything. Or the composition of the prior solder contains insufficient lead, making it more difficult to deal with. Go to Step 9 now.
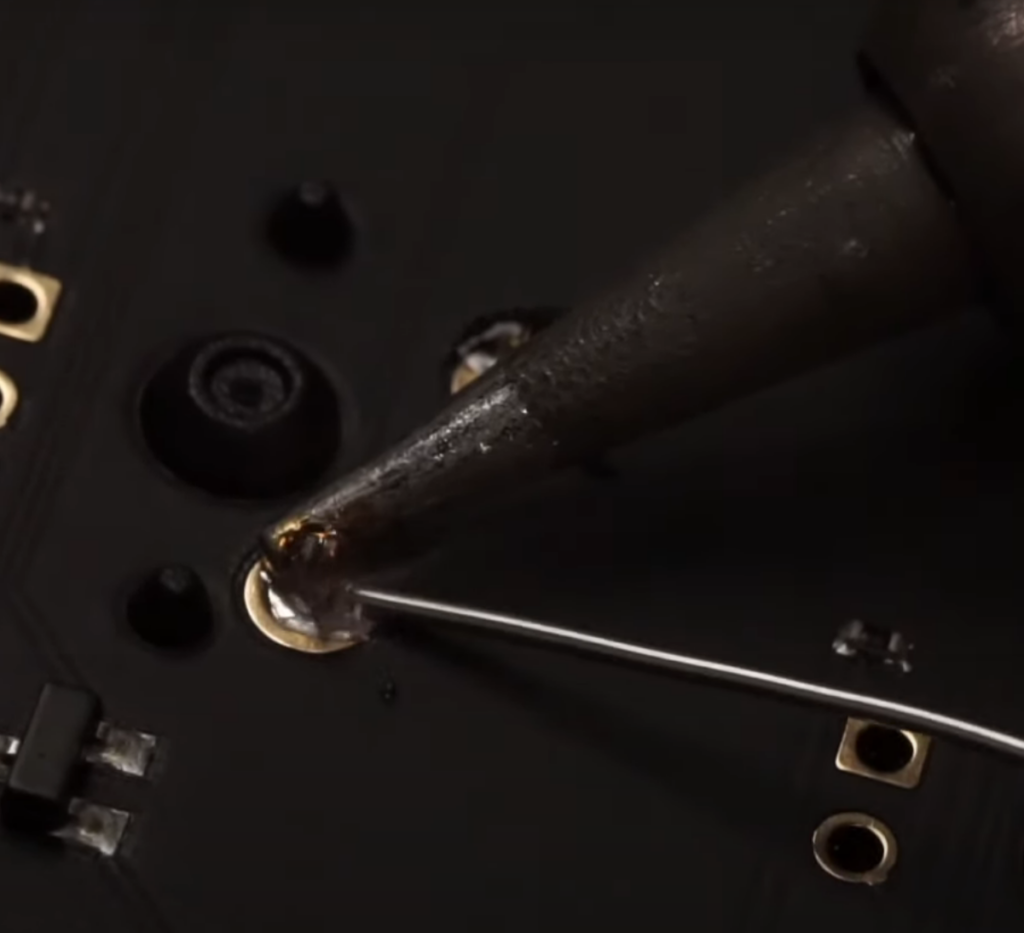
9. Add Additional Solder onto the Joint (If Needed)
The ideal soldering iron temperature for this stage is between 320 and 350 °C. Wait for your soldering iron to cool after adjusting the temperature in the previous step.
Have your solder wire ready to feed it in your other hand. Make careful to apply moderate pressure for around 2 seconds when pressing the hot soldering iron’s tip onto the pad.
Start feeding the solder wire onto the solder joint at this point, not onto the iron, which accomplishes nothing more than build up solder. For about two seconds, feed the solder. When the solder junction has a concave appearance and the mechanical switch pin is still visible, you are finished.
Repeat the earlier procedures we took to suction the solder out of the junction after you have applied solder to the connection.
10. Repeat Steps 7-8
To use the solder sucker to remove the solder, repeat steps 7-8. Keep in mind that the temperature at which solder is removed is higher than the temperature at which it is applied. You’ll eventually learn the perfect soldering and desoldering temperature for you, your iron, and the solder you’re using.
Congratulations! Your keyboard switch was successfully desoldered after being taken out of the keyboard.
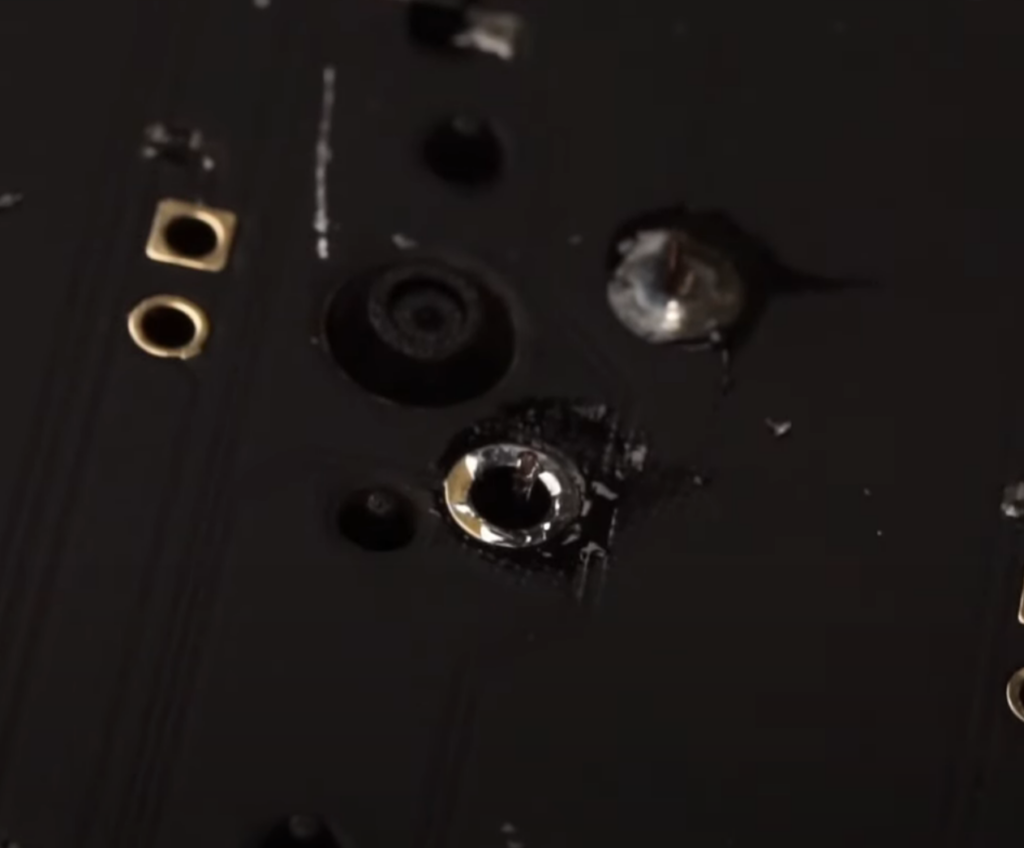
To prevent someone else from unintentionally bumping into the iron and tipping it over, be sure to switch off everything and store everything in a secure location.
Advice for safety: Wash your hands right away after handling solder. Lead poisoning is dangerous even in minute doses.
