When you start looking for tips on how to improve the feel and sound of your mechanical keyboard switches, you’ll notice that some of them should be “switch film.”
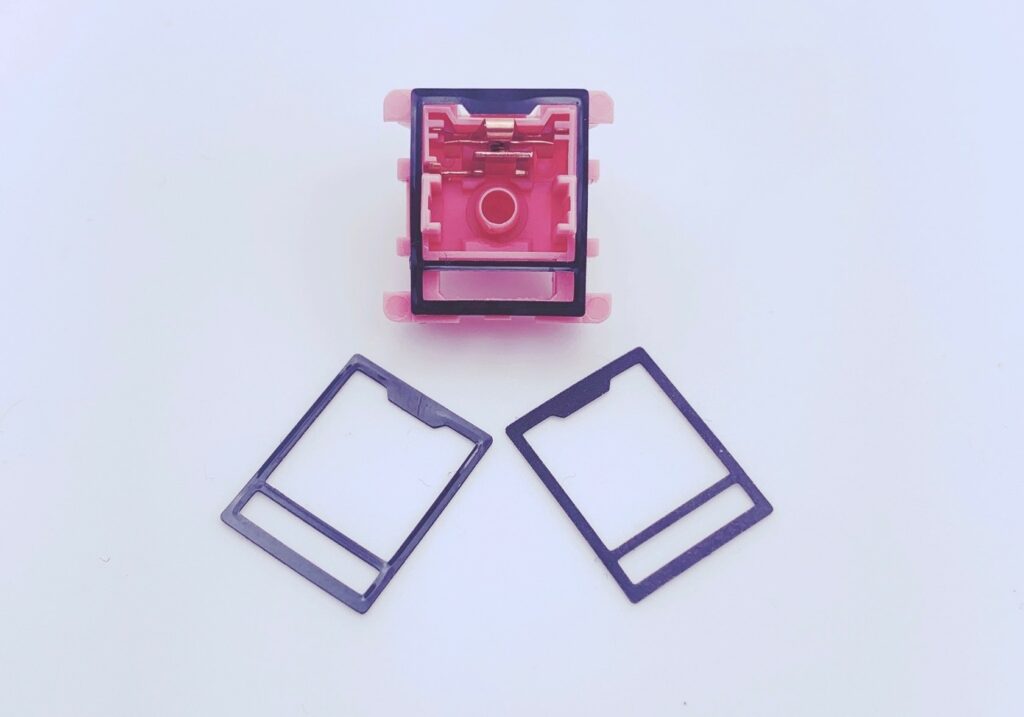
Filming a switch is sandwiching a thin slice of plastic (or rubber) material between the top and bottom housings of a switch to tighten it and significantly improve sound and feel.
We’ll cover everything you want to know about switch filming in this article, including a detailed guide on how to use it, why you must, and more tips.

Tools Needed for Filming Switches
Installing switch films into the switches requires relatively little effort. We’ll go over each one in detail.
1. Films
Switch films come in a variety of materials and are available from many different vendors and manufactures. We strongly recommend these Kebo Store films because they are affordable and simple to install.
Make sure each switch has at least one switch film. It’s a good idea to have some extras on hand in case something goes wrong.
At the end, we’ll go over some of the other films to give you a better picture of what’s available.
2. Switch Opener
On the market, there are several different types of switch openers. Some are less expensive and 3D printed from plastic. These are cheap, however they do not last as long.
These are cheap, however they do not last as long.
You may also use a flathead screwdriver that you probably already have at home to do this but it requires a lot more effort, as well as time.
3. A pair of tweezers
Holding the switch films with a good set of good tweezers is significantly easier than using your fingers. The switch films are extremely thin and difficult to control without the use of tweezers. A set with fine sharp tips, like as these from here, is recommended.
4. A Clean Table
You’ll need a clean desk where you open switches, film them, and lube them without having to worry about someone interrupting or losing the switch parts.
Having a different cup or box for each half of the switch is a wise idea. They’ll stay in one place and not moving around the table this way.
Bottom housing, top housing, stem, spring, and film should have different containers.
Having a lube station is highly recommended.
5. Lube Supplies (Optional)
You really should lube your switches since you’re already opening them. Lubricating switches enhances their sound and feel even more, and it goes hand in hand with filming them.
Krytox 205g is a great option, and it’s available here.
How to Film your Switch
Installing switch films is a simple process that should be done with lubing your switches while you’re already doing so to save time and effort.

1. Disassemble the switch
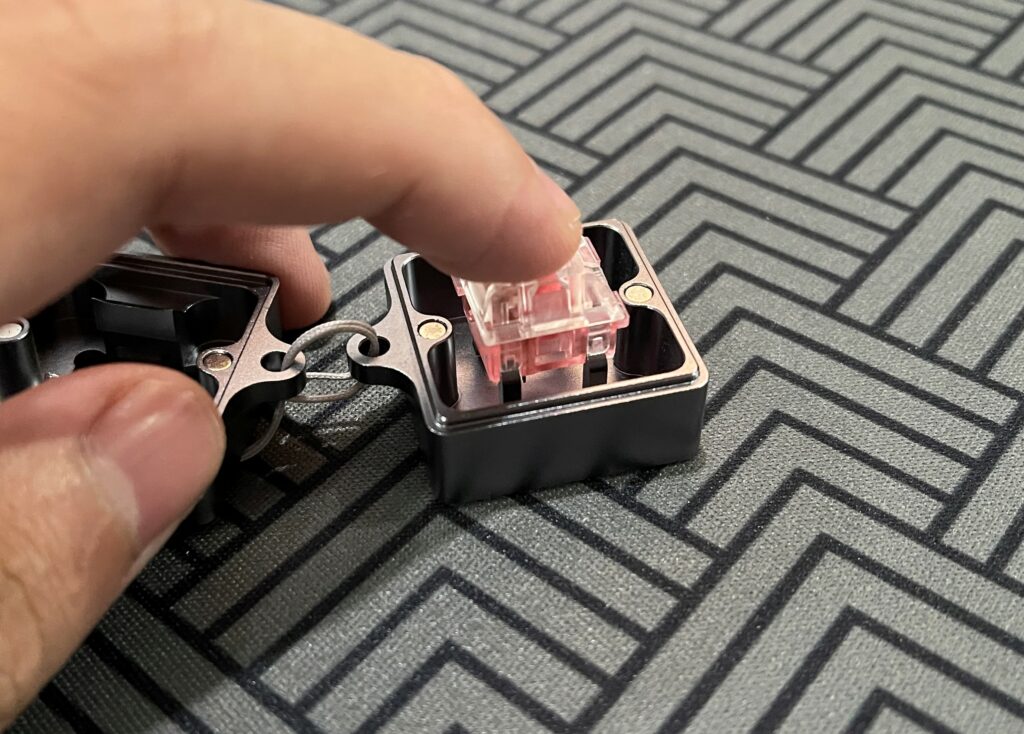
Using a switch opener to disassemble a switch
The best way to disassemble your switch is to use a switch opener (recommended) or a household tool to separate the top and bottom housing.
See our detailed guide on how to unlock your switch. There are 2 techniques you can use: one with a switch opener and the other using a flat-head screwdriver.
The more straightforward option is to get a switch opener, which is a specialist instrument designed solely for this purpose. Your switch opener may not be compatible depending on whether your switch housing is.
However, most openers on the market at the moment are available for opening all types of switches. But just keep that in mind and read the instruction before purchasing.
2. Optional: Lube your switch
Once you have all of the switch components apart, this is the perfect moment to lube your switch.
Lubing your switch can help improve the sound quality, reduce scratchiness and noise, improve the feel, as well as being an enjoyable and relaxing procedure.
This step could take an extra 1-2 hours to complete. If you prefer, you can skip it. Removing the switches to lube them after they’ve been connected into your keyboard will take some time.
3. Get a switch film
Using tweezers, place the film on the switch.
Split the switch film from the other films using a great pair of tweezers to isolate just one.
It might require some shaking depending on the package of the films, since they can attach to each other. Some films come with a self-adhesive sheet. These should be easily detached.

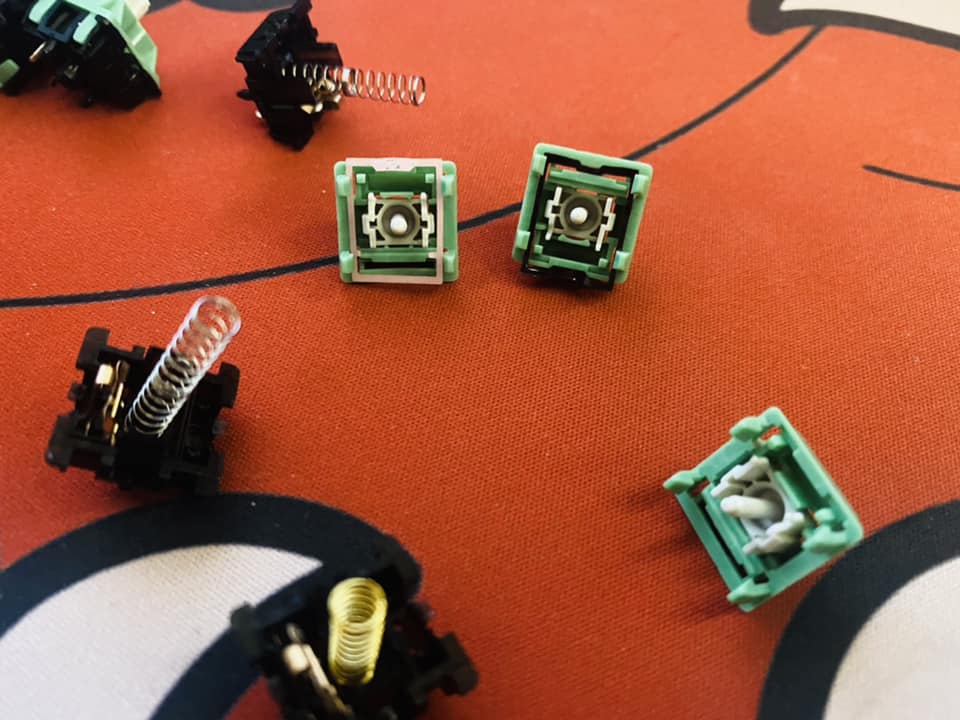
4. Cover the top of the bottom housing with switch film.
The bottom housing of the switch should be held or placed on a non-moving surface.
Make sure you’re doing it the correct direction. If it’s not going the right way way, you’ll notice that a section of the film slips out when you close it. You’ll hear a crunch sound as the switch gets in the way of the keypress as you press the switch.
There are two areas on the switch film: a small rectangular area and a large square area. The little rectangular section covers the section of the housing by which the LED shines. The larger square portion wraps around the spring’s container area.
Some switch films contain only a wide rectangular frame and no little box for the LED part. The end effect is unaffected by the design of these switch films.
5. Assemble the switches
It’s time to reassemble the switch now after the film is properly aligned.
Take the switch spring and properly put it on top of the bottom housing. The switch stem should then be placed at the top of the spring. If the stem legs are not facing the metal leaf, you are placing it the wrong direction.
Finally, assemble the switch by double-checking the position. The LED corner of the upper housing should be facing away from the bottom housing’s metal leaf.
Or, the switch brand side of the upper housing should be higher than the metal leaf side.
6. Add switches to your keyboard.
The methods here will differ based on whether your keyboard is a hot-swappable or not.
This would be quite fast for a hot-swappable board. Simply push the switches into the PCB and plate, ensuring that the pins are properly aligned. Check out our guide here for a simple guide on how to installing your switches.
Soldering is a lot more complex, and the steps would vary depending on how you built your mechanical keyboard. Make sure you use your keyboard kit guide.
What are Switch Films and How Do They Work?
Switch films are little pieces of plastic, rubber, polycarbonate plastic, and sometimes other materials, that are placed between the top and bottom housings of the switches to minimize the switch wobble.
The switches sound considerably better and have a “thocc” sound as a result after installing the film.
Hold the top and bottom housings together and wiggle the top housing to see if anything wobbling to determine if a switch would benefit from filming. If it does, we strongly recommend filming your switch.
Switch films were first developed to fix the old Cherry MX Black switches whose housings had become wobbly after years of using. Switch films did not become popular until recently as now people require much higher quality switches.
Because the housings of the new switches click together strongly, they may not require switch filming. Some switches, however, will profit from them, so be sure to test to determine whether your switch can benefit from filming.

Where Can I Get Switch Films?
Switch films are sold by a variety of companies, and the market is growing super fast now as more people getting interested in mechanical keyboards. The four sites listed below are well-known in the mechanical keyboard community.
You can’t go wrong with them in any way. Try a few out to see which material and size you like best. They’re inexpensive, making testing them easy, but they can run out of stock at sometimes. These suppliers all make good switch films, depending on availability, where you are, and other factors.
Kebo Films
The Kebo Store is a company based in the United States. Their films are often thinner, but they are easily available at a reasonable price.
Polycarbonate with12mm thick and costs roughly 5 cents per film. However, they frequently have offers where you can acquire two packs of 100 for just $8, resulting in a film cost of 4 cents.
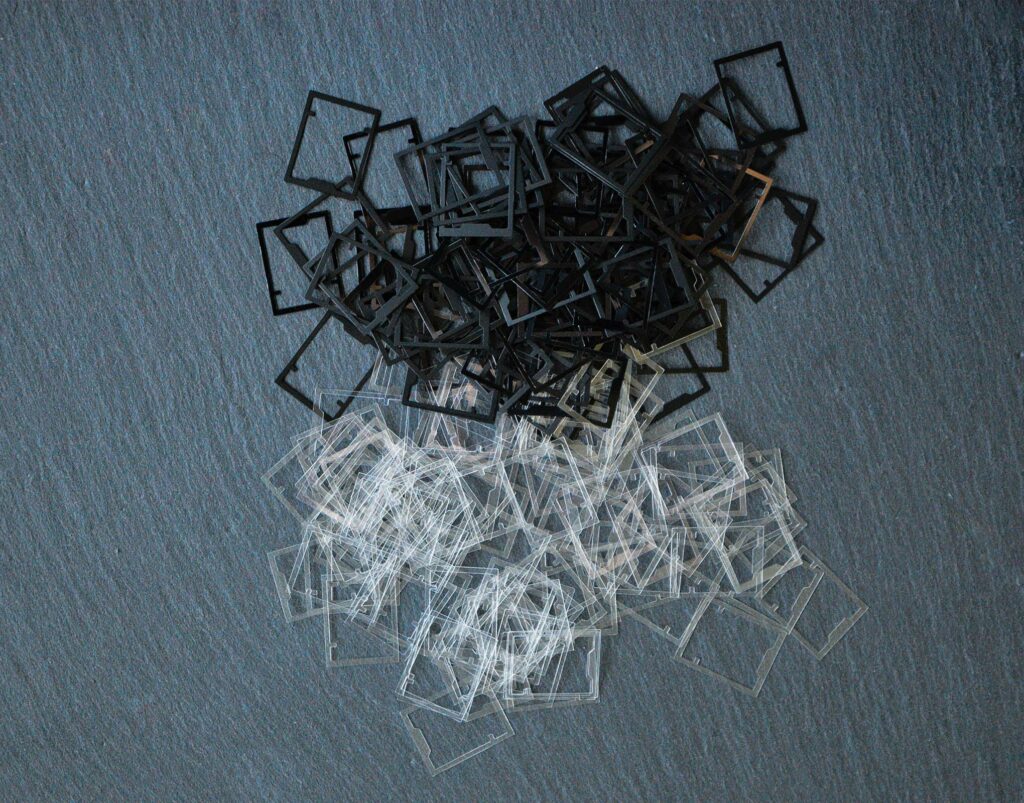
Their films come in three colors: black, clear, and white. Because these films are polycarbonate, you don’t need to peel theem from a sticky sheet.
TX Films
TX Films are polycarbonate films that come in packets of 110. They are available in a variety of colors, including black, white, green, blue, red, purple, yellow, orange, clear, and a ton of other colors.
When it comes to choosing film color, the safest choice is clear as it can easily match with any switch without causing the colored films to stand out.
TX Films is the go-to supplier for switch films in the United States. . If you want to play with filming your switches, these films can be a good alternative depending on availability, affordability, and convenience of access.
TX Films, on the other hand, are frequently out of stock due to their popularity, which is why there are now additional suppliers.
TX Films cost about 5 cents each film (not including shipping cost) and are about.15mm thick.
Thicc Films
Thicc Films are thicker than all other brands combined. They’re made of PLA plastic and 3D printed.
Thicc films have a thickness of 0.22mm, making them significantly thicker than others.
Thicc films make the housings being even tighter, reducing movement between them and enhancing sound quality. Thicc films are rectangular in shape and lack the small border that separates the LED side from the switch’s other side.
Because the height of these films, not all switches will fit. To decide whether or not you should purchase Thicc films for your switches, check their sizing chart.
They’re only compatible with Cherry MX-style housings.
These are always available and can be sent to a lot of different countries. If the films don’t fit, he also gives a 14-day return period.
Deskeys Films
Deskeys Films is a newcomer to the industry. They’re constructed of the same rubbery material that their Topre silencing rings are composed of. These are $7.00 for a package of 120 films, which comes out to over 6 cents each film.
Deskeys Films are one of the thickest films, averaging roughly 0.3mm thick. The material, on the other hand, is flexible and adaptable to a variety of housing tightness levels.
Gateron Milky, Gateron Inks, Cherry MX, Creams, Healios, Alpacas, etc. are all compatible with Deskeys Films. They will not work with switches that have Kailh housings however.
Switch Films: Why Should You Use Them?
Using tweezers and a switch, check for looseness and wobble.
The top housing, bottom housing, stem, and spring are all components of mechanical switches. Due to specific tooling, they have specific tolerances when they’re first built, which are acceptable.
Switch top wobbling is one of 2 kinds of switch wobble, and filming a switch helps reduce the top wobble. The two types are described further down.
These switch films are made of the same material used in high-end custom keyboard kits to totally isolate the PCB from the case to decrease the echo.
Film can reduce switch wobbles
Wobble of the Switch Stem
Because certain switches have different standards, there could be more space between the top and bottom housings.
The move of the stem within the top housing of an assembled switch is known as switch stem wobbling. All mechanical switches move in this way, which is normal.
The amount of stem wobble varies from switch to switch, but it’s perfectly typical.
Top Switch Wobble
Switch top wobble is the second form of wobbling. When you try to jiggle the switch around, the full top housing of the switch moves. This form of wobble is uncommon, but it can be reduced by using switch films.
Whenever the switch housings do not match together tightly, switch top wobble happens. The entire sound of the switch is affected by this type of wobble, and the irregularities between the switches increase. We are left with simply the regular switch stem wobbling after decreasing switch top wobble.
What Films can do with wobble?
You may make the top and bottom housings fit tighter by placing a layer of plastic between them.
The clips that bind the housings together will push on the plastic once you assemble the switch with the film on it, reducing any gaps that were before shooting.
This reduces the amount of switch top wobble, resulting in more consistent tones from switch to switch.
What Types of Switches Should Be Filmed?
The answer is that it is dependent on the switch you are using. Some factory switches will have lower tolerances and more switch wobble right out of the box.
Other switches will have tighter housings. The housings loosen with time as a result of using and opening/closing the switches. Then switch films will be beneficial to them.
How to Tell If Your Switch Should Be Filmed
Put your switch in the plate or grip the bottom housing hard.
Try wriggling the stem with a pair of tweezers by grabbing it and moving it up and down. If you notice housing wobbling or considerable movement, filming your switch will help.
Your switch does not have to be filmed if there is only minor movement and stem wobble.
Conclusion
As the mechanical keyboard industry grows and more switches are developed, filming switches has become extremely prevalent.
These are fantastic ideas. However, the switches’ tolerances may be looser than you’d want, resulting in more movement amongst all of the plastic.
Many modern switches could benefit from being lubed and filmed. If you’re looking to open your switch to just to lube it, make sure to use our quick test to see if it can benefit from filming.
Switch films are relatively inexpensive for a full-sized keyboard, and they’ll always come in useful. Although various switch films and manufacturers exist, they will all improve the fit and sound of your switch.
