Choosing the right mechanical keyboard cases & materials for your next custom boards could be super confusing if you don’t really know what exactly you are looking for.
It is very fun and interesting when building your own mechanical keyboard because you can choose anything that you want.
You can pick any type of switch, such as clicky, linear, or tactile, a special customizable cable, and a keycap set, which will be the last piece of your build.
Before getting to that, you will need to have a solid foundation to put all the parts together nicely. It is the mechanical keyboard case, which is the first part you should buy.
We can say that the quality of your custom keyboard greatly depends on the case.
It either ruins your build or makes it perfect.
But don’t worry if you are new to this because in this article, we will list all types of keyboard cases and their sizes and materials. And hopefully, it will help you pick the right case for you.
Keyboard Case Sizes
The keyboard sizes normally depend on the type of layout you want to use.
Whether it is 40%, 65%, TKL, or full size, they would offer different type of keyboard sizes accordingly to your need.
For more details regarding this topic, we strongly suggest you take a look at our keyboard layout guide.
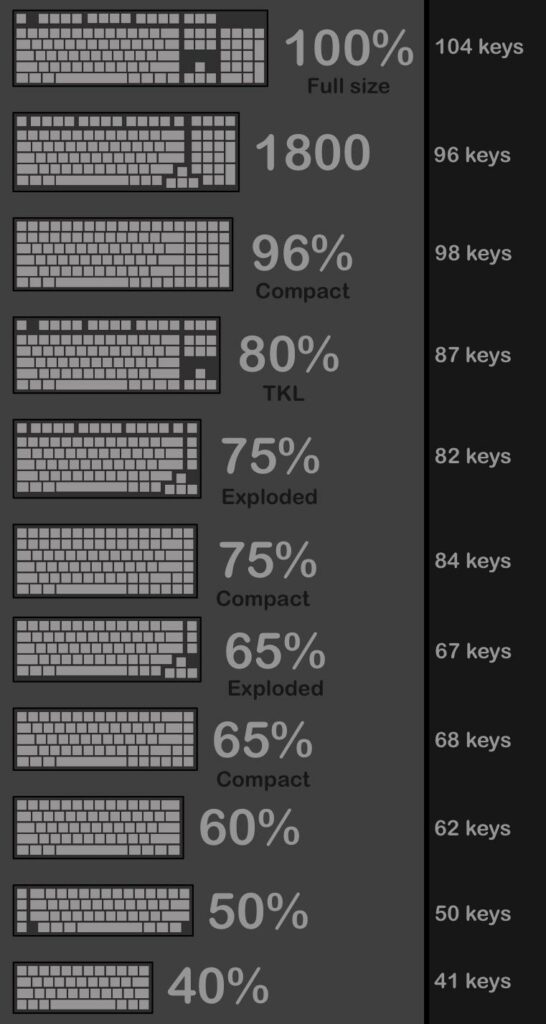
For now, you can take a look at the keyboard layout infographic by Minehacks above for more details!
Mechanical Keyboard Case materials
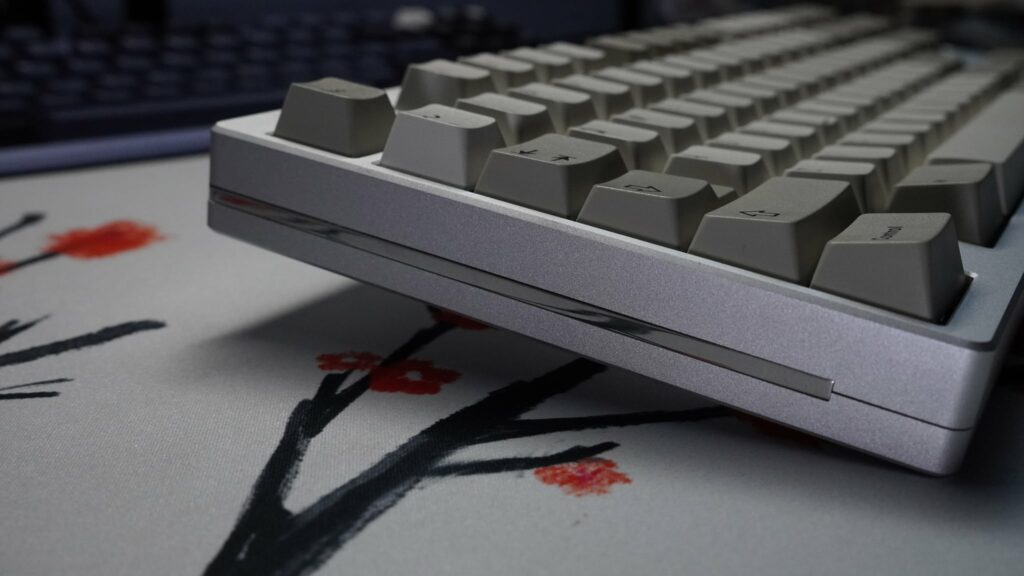
Aluminum
It is the most expensive one here since it is normally used on high-end keyboards. However, it is worth the price due to its premium look and feel. In addition, the added weight is quite helpful during heavy work or play time since it prevents your keyboard from moving.
There is one downside for this option. It is its sound, since typing on an aluminum case will have a much louder sound than other cases so you might want to make it quieter. In addition, it delivers a more metallic and hollow sound. But there is a fix, which is to use dampening material such as foam or silicone.
Plastic
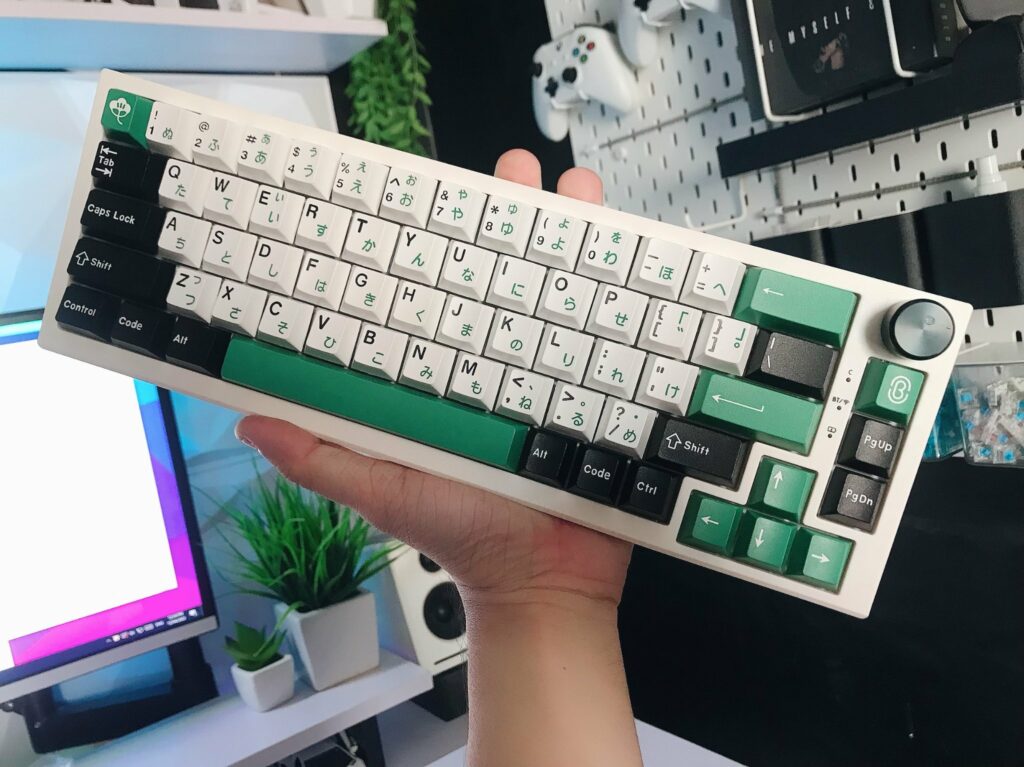
Plastic cases are very common in budget keyboard builds and pre-built keyboards. They normally come in black, gray, or white, so you are quite limited in color choice.
Plastic cases are made of ABS plastic and have a metal plate to provide support for the structure of the case. The ABS plastic can significantly reduce the overall cost of your keyboard since it is very cheap. The plastic case is very lightweight and has very good resistance against corrosive chemicals and physical impact.
Many people will find the plastic cases unstable when typing. This can be fixed by putting a metal plate or dampening material inside the keyboard.
Polycarbonate
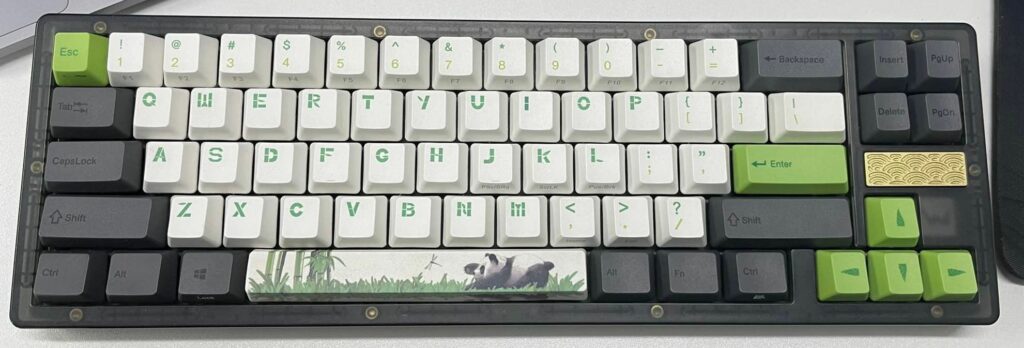
This material is quite similar to plastic. However, its quality is much better. Everything from the feel to the finish is way more premium. There are also various numbers of designs and colors for you to choose from. Therefore, it is more expensive than plastic, but it is a very good alternative.
Polycarbonate cases are very lightweight, like plastic. To make them sturdier, the manufacturer put weights at the back of the case to make them heavier.
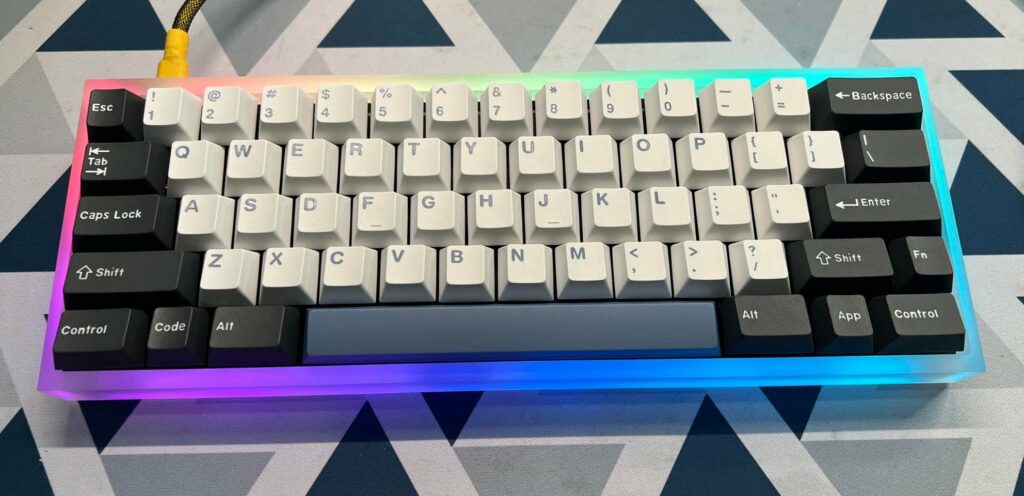
Acrylic
Acrylic cases are a pretty interesting option for those who enjoy RGB LEDs. It is mainly because these cases allow light to shine through, which creates a neat effect of RGB lightning.
These cases normally come in two forms, which are stacked acrylic and frosted acrylic. Stacked acrylic is made of different layers that are stacked on top of each other. It can normally be found in unorthodox layouts. Frosted acrylic is very popular for builds that have back lights.
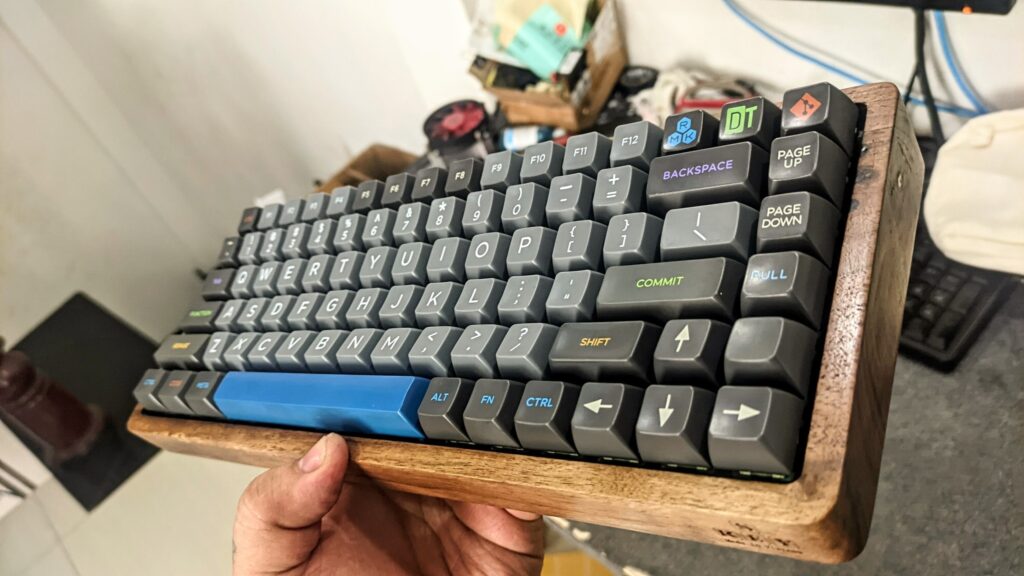
Wood
Wooden cases are the least common option for custom keyboards. Their price typically stands alongside with aluminum cases since they require lots of work to prepare, like cutting, sanding, and finishing. Rosewood, zebra wood, and walnut are the most common wood types.
Wooden cases share the same weight advantage as the heavy aluminum, so you can expect a solid and nice feel when typing.
Case Mounting Styles
Keyboards have a lot of different mounting styles and configurations. There are many styles, like tray mount, top mount, bottom mount, sandwich mount, plateless mount, integrated plate, and gasket mount.
Custom mechanical keyboard cases come in many different shapes and sizes.
While each case has unique qualities, the way in which keyboard components are mounted often boil down to a number of different styles.
Some designers might combine concepts from various styles to incorporate the various benefits of the different mounting styles.
Each of those styles can decide how the plate and PCB are secured in the keyboard housing. Depending on your case and the typing style you are looking for, select the one that fits you best!
- Tray mount: The PCB is attached to the
- Top mount: The PCB is attached to the top frame of the case.
- Bottom mount: The PCB is attached to the frame part of the case.
- Sandwich mount:
- top mount, bottom mount, sandwich mount, plateless mount, integrated plate, and gasket mount
Tray mount
The PCB is affixed to the case utilizing screws, mounting into threaded mounting posts. Holes in the plate allow for the screws to be installed.
Pros
Cons
Top mount
The plate is attached to a top frame, which is attached to the bottom of the case.
Pros
Cons
Bottom mount
The plate is attached to the bottom frame. The top frame is optional, making it much like a sandwich mount.
Pros
Cons
Gasket mount
A form of dampener, often elastic material, is inserted between the
top frame and case.
Many variations available, using various materials and form factors.
Most mounting styles can be made into a gasket mount.
Pros
Cons
Sandwich mount
The bottom case, plate and top frame are layered on top of each other, then affixed with a screw from the bottom.
The top frame is optional, making for a low profile case.
Pros
Cons
Plateless mount
Like with a top or bottom mount case, the PCB can be affixed to either a top frame or the bottom case. Plateless top mount is shown.
Also known as PCB mount.
Pros
Cons
Integrated plate
Pros
Cons
Conclusion:
Tons of things are to consider when choosing a keyboard case and customize it.
You need to figure out your keyboard size, material type, and mounting style.
Choosing all of them can be quite difficult and can take lots of time.
So if you can’t decide which to choose, you can go to an online store to pick the available kits that you like and fit your pocket. But don’t forget to write down a comment below if you need any help first, and we will do our best to help you!
