The custom keyboard hobby has boomed in the past year, bringing with it a ton of fresh inventions and alterations, including the PE Foam mod, a sound-altering technique influenced by Owlabs and the Jelly Epoch TKL. Let’s discuss it today!
Although not the simplest modification to make, it may alter your keyboard’s sound profile in ways that can totally change the way you play.
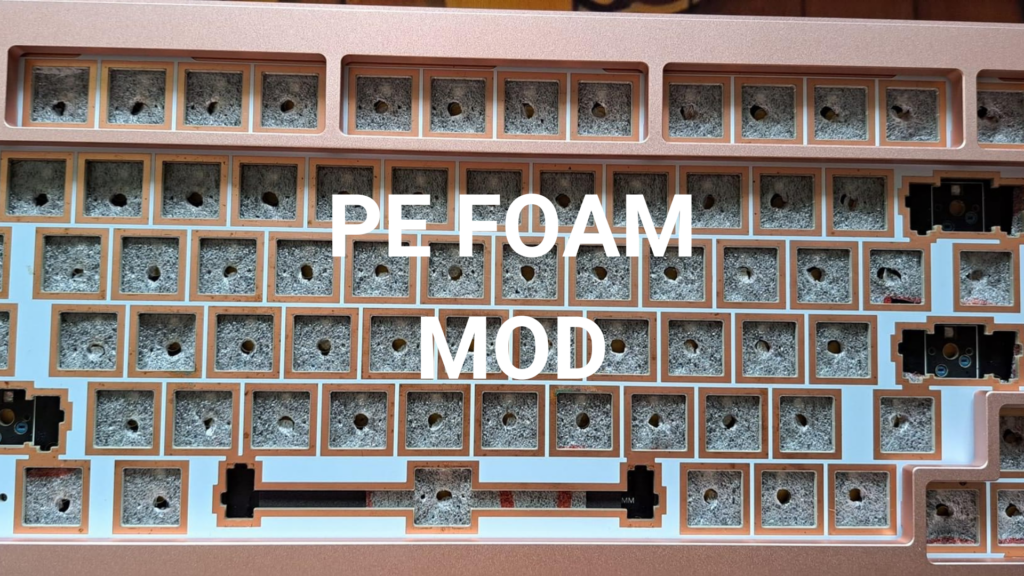
Before You Start
It is simplest to use a hot-swap board or carry out the modification before soldering switches because the PE Foam mod is supposed to be put underneath your switches. You must unsolder your switches and reassemble using PE Foam if you want to apply this modification to a soldered or pre-built keyboard.
Please verify that none of the lasers or stems are blocked if you wish to use your optical keyboard for PE Mod.
Consider using the “Tempest Tape Mod” if you are unable to de-solder your switches for the PE Foam Mod.
How to do PE Foam Mod for Mechanical Keyboards
You will need the following items to do the PE Foam Mod:
- 1x Sheet of PE Foam (1.0mm or thinner ideally)
- 1x Pair of Scissors
- 1x Hole Poker
- 1x Screwdriver
- 1x Keycap Puller
- 1x Switch Puller
- 1x Keyboard or Keyboard Kit
- Desoldering Pump/Gun (if modding a soldered board)
- Soldering Iron (if modding a soldered board)
- Solder (if modding a soldered board)
- Flux (if modding a soldered board)
- Brass Wool (if modding a soldered board)
Step 1: Have the PCB Available
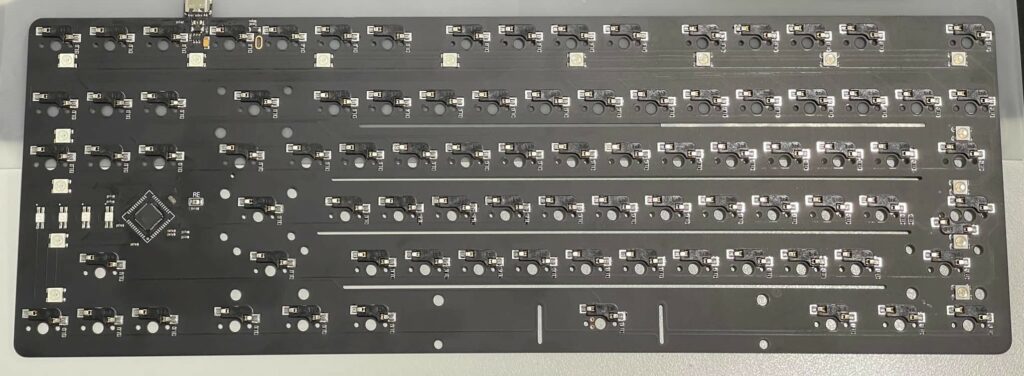
Remove all keycaps, switches, and stabilizers from a built-in keyboard and disassemble it so that the PCB is exposed and on the work table in front of you.
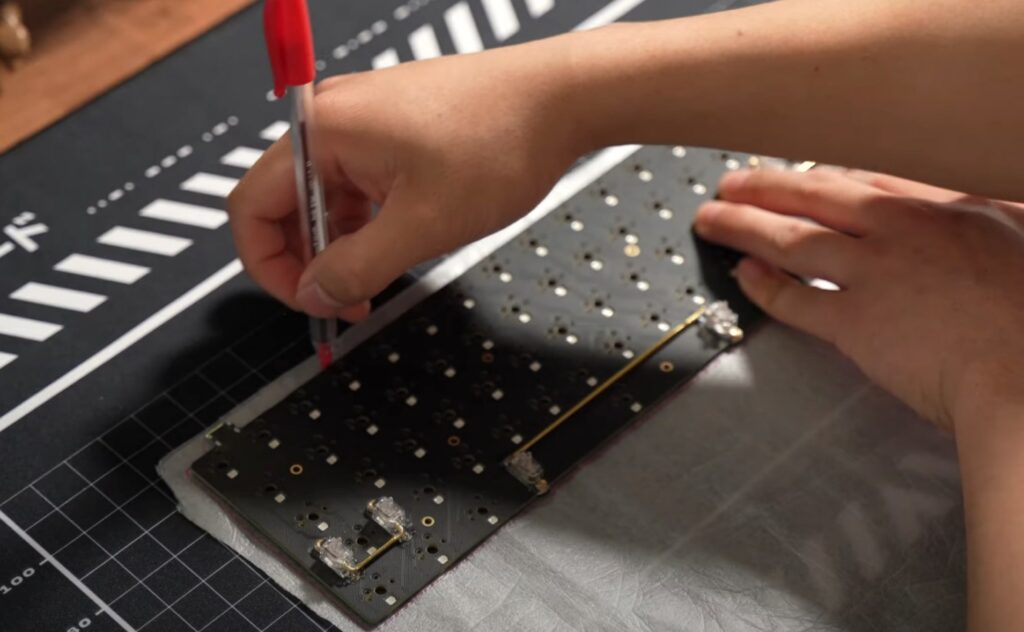
Step 2: Measure PE Foam
Put the PE Foam sheet on top of your PCB. If required, trace your PCB on the foam. You can decide to trim either before or after applying switches.
Step 3 (Optional): Prepare PCB-Mount Stabilizers
Attach any PCB-mount stabilizers you’re using right away. The presence of the stabilizers will aid in keeping the foam in place as well.
Attach Plate-Mount stabilizers to the Plate either now or after the Plate and PCB are put together if you’re utilizing them.
Make sure your stabilizers don’t require any further lubrication or modification.
Step 4: Place the plate
If your board contains standoffs to secure your PCB to the plate, put it together right away. Be prepared to build your switches as usual if your board employs switches to keep the Plate/PCB assembly together. Now that the plate has been attached, you may secure your Plate-Mount stabilizers. Once more, installing corner switches first may make alignment easier.
The PE Foam may assist hold your switches in place more firmly if you have a plateless construction.
Place the plate foam, if any, between the PCB and the plate at this time.
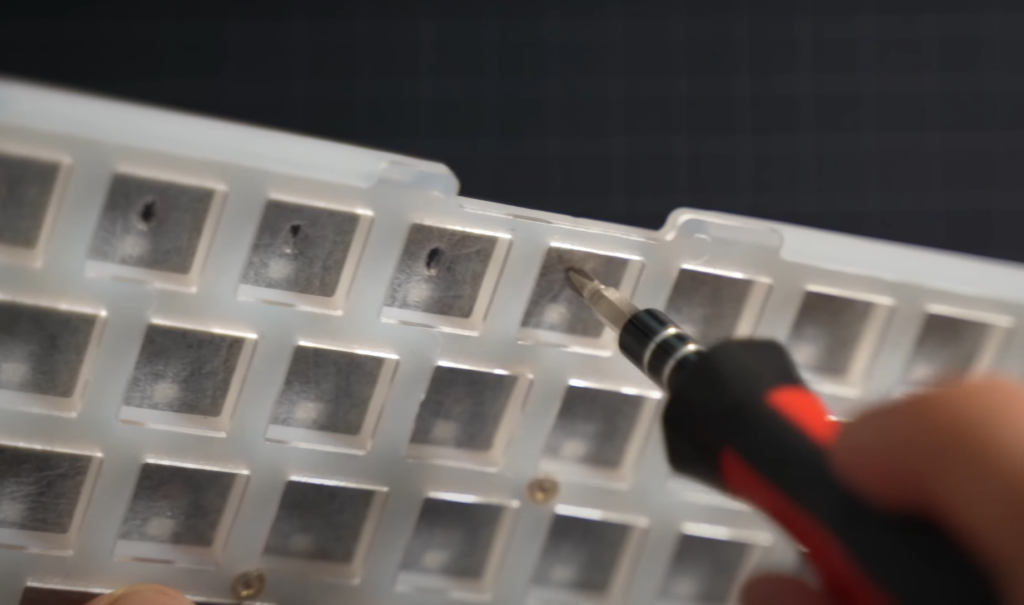
Step 5: Poke Holes
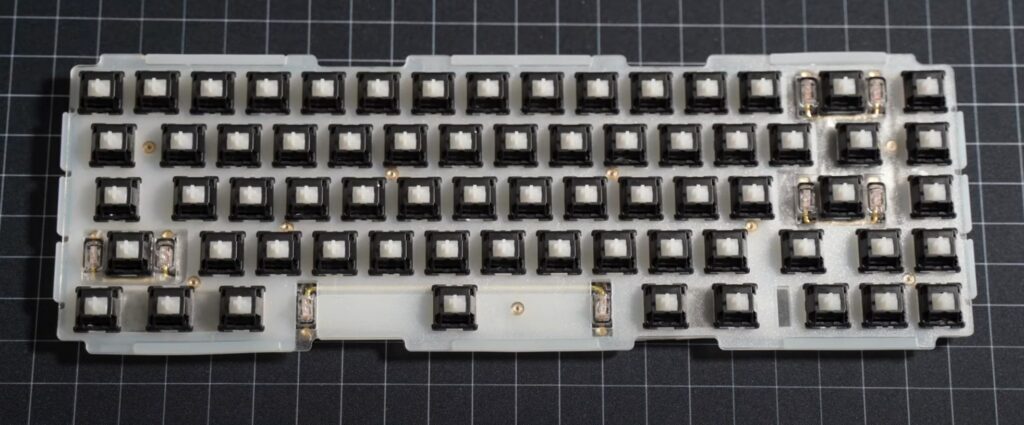
Sometimes, you may attach your switches straight to your PCB by just pushing them through the PE foam.
Pre-poke or punch holes for your switches if your foam is too thick or if you have an optical board.
The holes for the center pin, two plastic pins, and PCB-Mount stabilizers are the most important locations to punch. The metal pins are often sharp enough to puncture the foam, but you are free to opt to also make holes for them.
Make sure to cut, poke, or punch holes for the SMD LEDs or through-hole sockets as well if you are concerned about RGB shine-through or if you simply want to be extra cautious.
Advice: Start by drilling holes for the corner switches before mounting the remainder of the switches. By doing this, you can be sure that the PE Foam is flat on the PCB and that all of the holes are positioned correctly.
Step 6: Install Switches
Plug in your switches with care. To avoid bent pins, make sure all of the switch pins are straight. Initially, focus on the corners to preserve alignment.
Step 7: Trim Foam
Before reassembling your board, trim your foam if you choose not to previously.
Step 8: Assemble Keyboard
From the casing to the keycaps, put the remainder of your keyboard together now. Rarely, the extra thickness of the PE Foam may lead to fitting problems.
Step 09: Enjoy the new PE Foam Sound
Enjoy the beautiful marbled appearance of your freshly modified keyboard. Hopefully you enjoy it, because reversing it will require disassembling the complete board once more.
What does PE Mod sound like?
The board’s distinctive, complete bottom-out sound was produced by using a sheet of Jelly Epoch PE Foam, giving it the poppy, marbled sound characteristic that has come to be associated with Owlabs boards.
Due to the materials used, the switches used, the mounting method, and the thickness/density of the PE foam and case/plate foam, you could discover that your mod sounds a little flatter than the Jelly Epoch version.
The purpose of PE Mod
PE stands for polyethylene, a thermoplastic substance that is frequently included in some form in switch plastics. Instead of allowing sound to pass through the PCB and into the casing below, a thin plastic foam layered between the plate and the PCB is designed to reflect sound back to you.
PE Mod may flatten the sound signature and restrict the frequency ranges you can hear when typing, despite the fact that it does make the sound much more distinctive.
For plate-less and hot-swap setups, PE Foam may also aid to further bind your switches to the PCB, particularly if the holes for the switch legs are very slack. The impact on sound can be different if you used various foams. By absorbing sound waves rather than reflecting or bouncing them back to you, EVA foam rubber, for instance, can deepen or muffle the sound profile.
For PE Mod, what sort of foam do I need?
Black IXPE anti-static foam is used to make the authentic Owlabs PE Foam sheets. IXPE is a particular form of PE foam with better sound and vibration dampening capabilities.
The community-created PE Mod frequently employs small sheets of white PE foam, which is generally used as packing foam or keyboard protective sleeves.
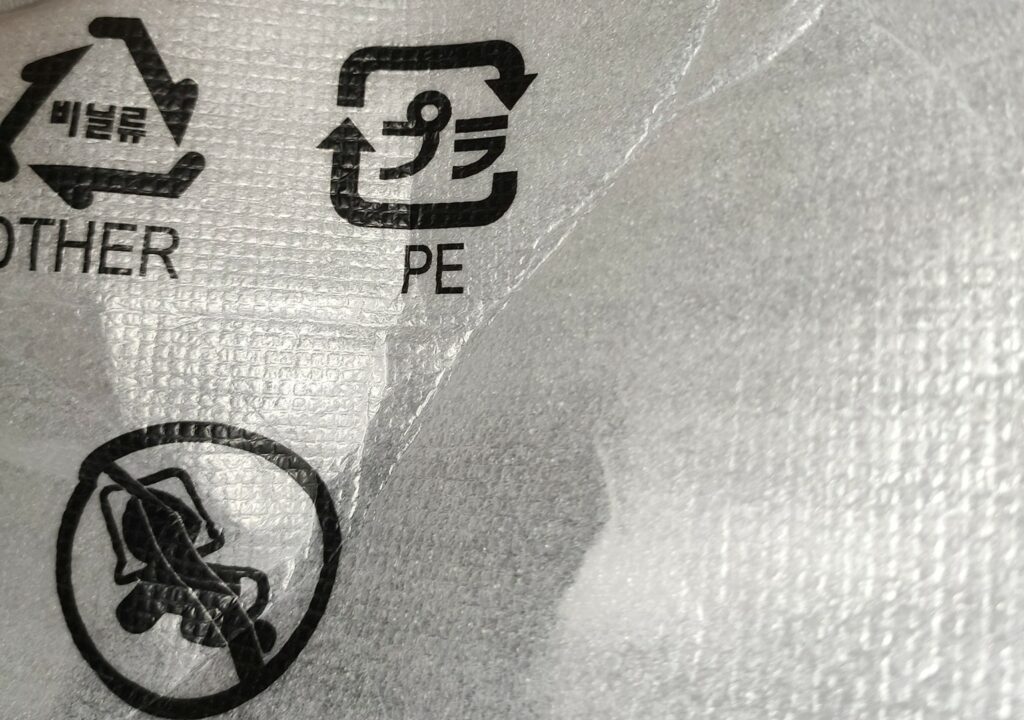
White PE foam is undoubtedly the more affordable option, but in the correct circumstances, it may and will also produce static electricity. You could have a short-circuit as a result of this, which might destroy your PCB or at the very least reset it.
It is advised to only do this on boards with adequate ESD electro-static discharge protection if all you have is white PE Foam.
PE foam is also available in pink, which is more secure than white PE foam but not as secure as black PE foam.
Please be aware that using a different foam, such as a thin sheet of EVA foam, will not produce the same sound effects as PE foam since EVA absorbs and dampens sound far more than PE does.
Alternatives to PE Mod
You may also buy foam stickers if cutting off a piece of paper bothers you too much. PCB Stickers and Switch Tripods are the two types of foam stickers that are now offered.
PCB Stickers (Switch Pads)
PCB Stickers are designed to be placed directly to the PCB using foam squares with adhesive backing. The most common foams used to make these stickers are PE, EVA, and Poron.
Similar to the PE Foam mod, PE stickers sometimes reflect sound and provide a more marbled sound character.
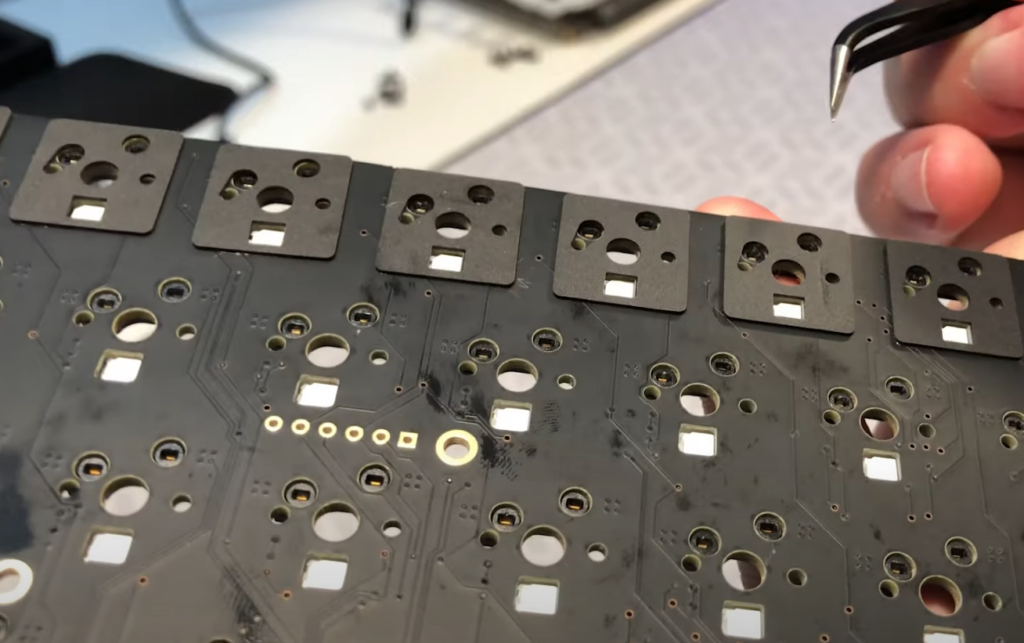
The converse is often true with EVA and Poron, which absorb sound and give your switch a lower-pitched sound while perhaps muting specific frequencies.
Switch Tripods
On the other hand, your switches’ bottoms are covered with a triangular ring of Poron or EVA foam. Overall, the result is comparable to applying Poron or EVA stickers, but less damaging to the PCB.
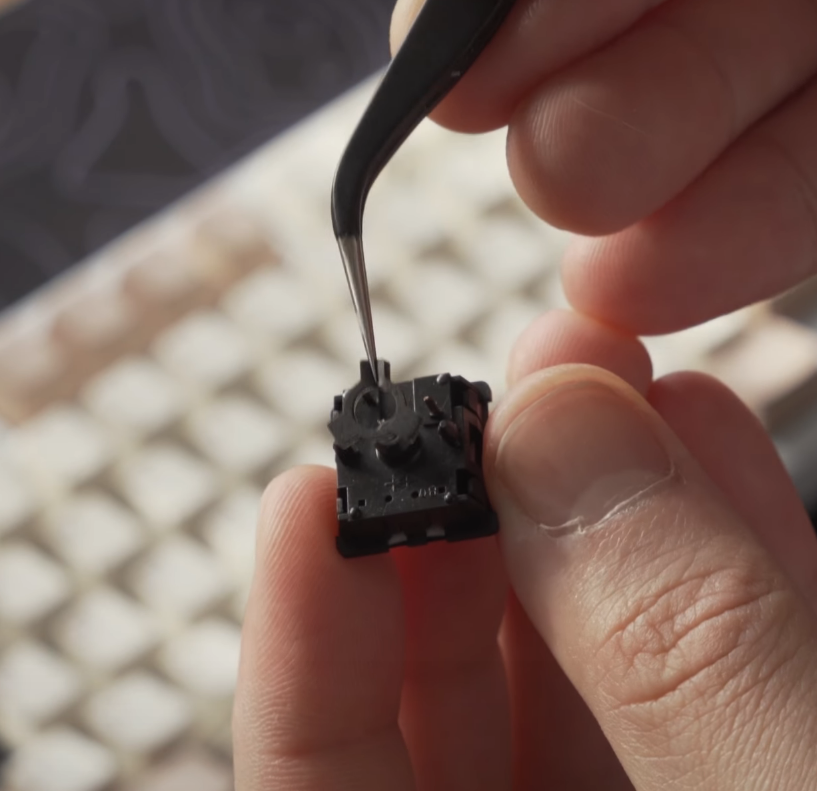
Tripods are often somewhat thicker than PCB Stickers, therefore they could also be more effective at reducing the height disparity when used with Mill-Max sockets. Cannonkeys offers tripods in a range of hardness.
