There are several phases between the initial procedure and the finished mechanical keyboard in order to have a beautiful final product. I had a lot of questions at first and, in the end, the community was a wonderful assistance to me. It may seem a little intimidating at first not knowing where to search or who to approach for support. My first piece of advise is to never be hesitant to seek for help from the community, as individuals just like me are always willing to provide solutions and welcome all different kinds of new people in with open arms!
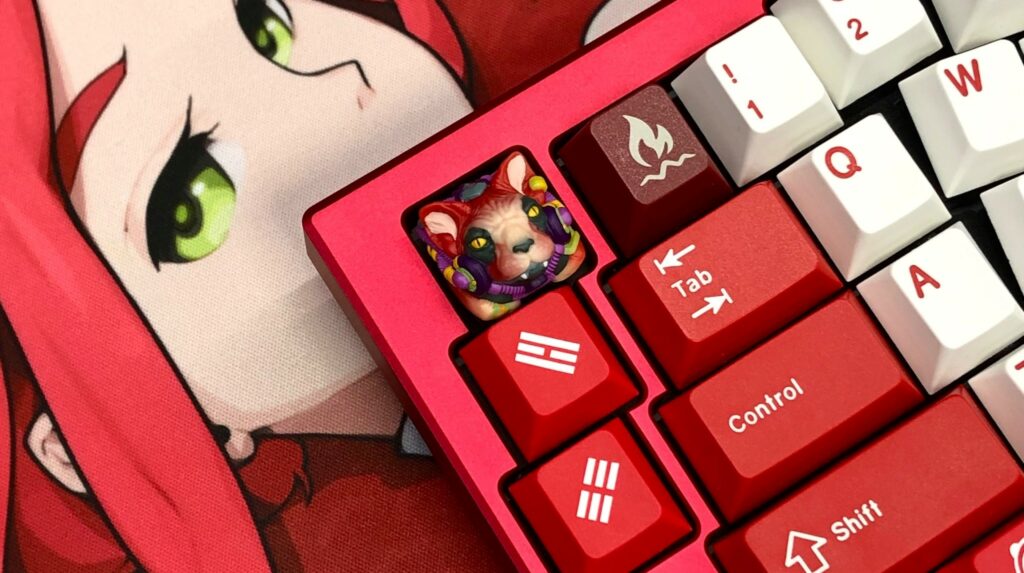
Why would I want to build my own mechanical keyboard?
It was a fresh approach for me to liven up the appearance of my setup. I, like with many other individuals I know, became addicted to watching others construct them on YouTube. I was even more tempted to do so by the alluring sounds of keyboard sound testing and the exquisitely crafted casings and keycaps.
Why not invest in something that we use so frequently? We use this piece of equipment every day, so why not customize its appearance, sound, and feel!
How is a mechanical keyboard constructed?
The components of mechanical keyboards are the same across the board.
- PCB
- Mechanical switches
- Stabilizers
- Case and plate
- Keycaps
- USB Cable.
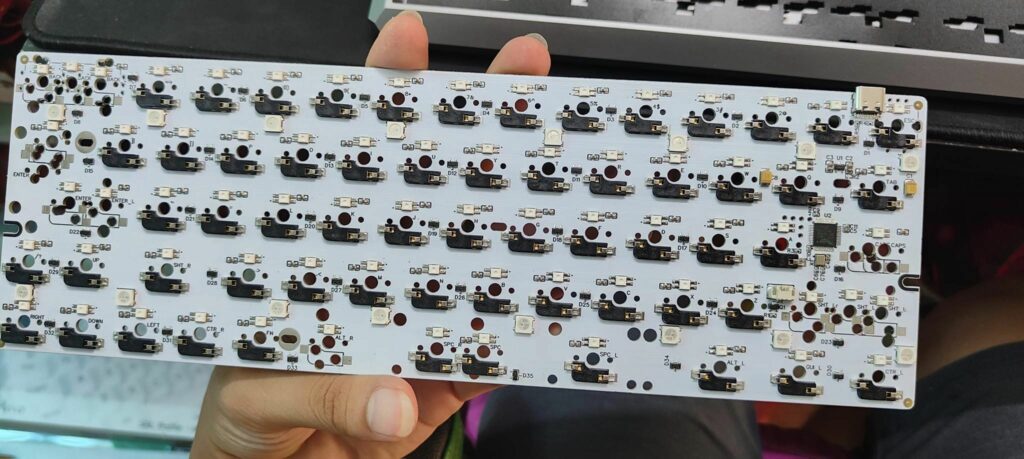
The PCB is the keyboard’s brain.
The keystroke is recorded by the mechanical switches. These switches appeal to gamers, programmers, and/or typists because of their variation in response, loudness, and trip times. You receive tactile input from some keys.
Stabilizers, often known as “stabs,” are keyboard components that assist bind the keycap to the switch and stop bigger keys from swaying when pushed.
In a mechanical keyboard with a plate mounting, the PCB and switches are separated by a metal or plastic plate. Without initially desoldering each and every switch, the plate is essentially “locked” between the PCB and switches.
The remaining items on the list are all very self explanatory.
Which keyboard size should I choose?
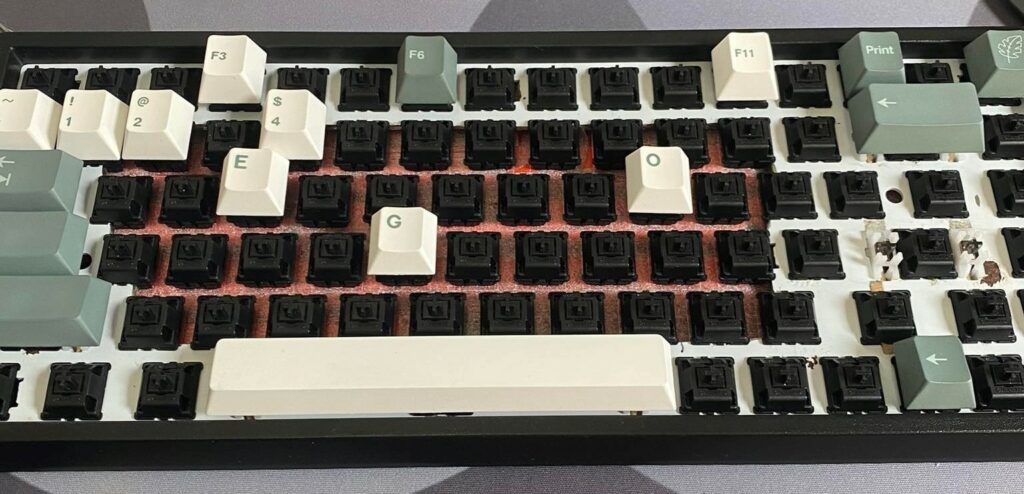
Everything is dependent on desire and requirements. I picked a 65 percent keyboard for myself since I couldn’t imagine using one without the arrow keys and a few other buttons. Here is a list of every type of keyboard (with numpad).
- 122 Battleship
- 100% all include
- 1800 a more compact version of a 100%
- 96% its like an 1800, but without the gaps
- Left-hand Numpad allows you to have more space for your mouse, get the ergonomic befits of smaller keyboards as well as a list of small boards (without numpad)
- 80% / TKL (TenKeyLess) it’s just a normal keyboard with the numpad chopped off, has around 87 keys
- 75% a more compact version of a TKL, can come with or without gaps, has around 84 keys
- 65% a 75% but without F keys, very compact form factor, has around 65-70 keys
- 60% very popular, very standardized, missing dedicated arrow keys
- 40% the bare essentials, you could almost put this keyboard in your pocket
- Ortholinear have keys in a grid, rather than staggered, available in a range of sizes
- Split made for ergonomics
Clicky, Tactile, Linear? What’s the difference?
Switches that click have a tactile bump and may be heard clicking when pressed. These switches could include Cherry MX Blues, Kailh Blues, or Kailh BOX Thick Jade, as examples.
Without the loud clicking sound, tactile mechanical switches have a tiny bump that you may feel when typing. Zealios V2s, Kailh Speed Bronze, and Cherry MX Browns are a few examples of them.
The hump within the key switch is eliminated by the linear switch, which reduces noise and improves the smoothness of key presses from top to bottom. Tealios V2s, Greetech Blacks, and Cherry MX Blacks.
What switches should I buy?
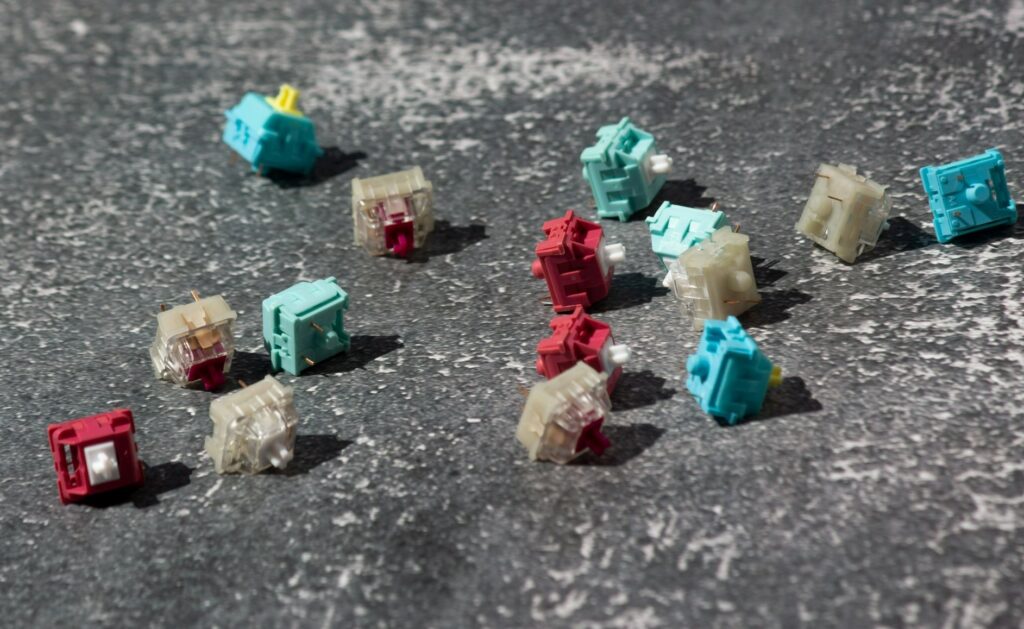
The crucial section—the mechanical switches—comes next after you choose the desired size. Before ever buying any further parts for your board, you may obtain one of the many switch testers available online. To name a few, here are 3 different switch testers.
- 9-Key Cherry MX Switch Tester
- KBDFans Super Switch Tester 63 Switches All in One
- KPRepublic 81 Switch Tester
Don’t be intimidated by terms like “Actuation Force” or “Bottom Out,” though. Simply described, actuation force is the amount of pressure required to press a key for it to be recognized. Pushing a switch all the way down is known as “bottoming out.”
Some switches increase the bottom out force to deter bottoming out, so you don’t have to bottom out while pressing the keys if you have troubles with finger fatigue. You should try it.
I discovered that listening to ASMR typing sound testing helped me decide which switches I would choose for my board as well.
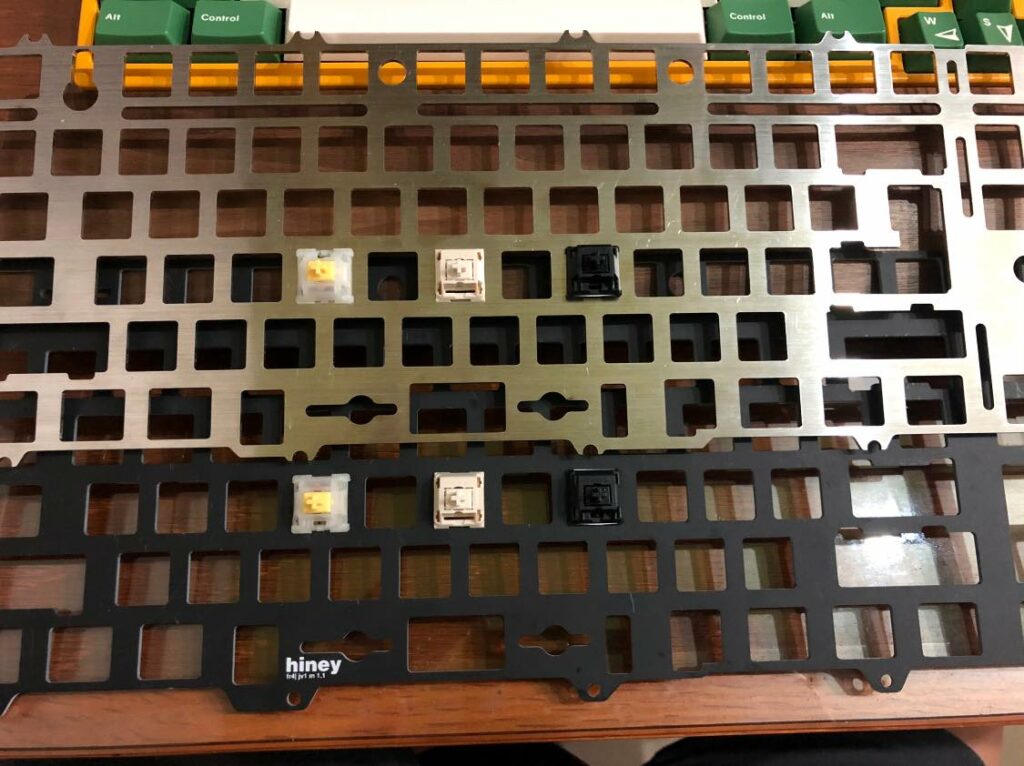
Plate components impact sound
How hard the plate is during bottom out is one of the fundamental determinants of how your keyboard sounds and feels. Every plate will bend to some degree, but some more so than others.
Because sound waves move more quickly through denser materials and greater speeds generate higher frequency sounds, in general, the denser a keyboard component is, the higher the pitch produced. Additionally, the sound generated by a piano part is more solitary the louder it is since the sound waves have more space to travel through, which dampens the sound.
Steel, brass, aluminum, acrylic, polycarbonate, and plateless (not to be confused with PCB mount, which refers to the switch bottom) are the plate materials in order from stiffest to least stiff.
Various plate mountings
A PCB can be mounted to its casing in a variety of ways. Of course, it changes depending on the case you choose, but even so, this has an impact on the keyboard’s sound and feel.
Tray-mounted: The most fundamental and popular mounting technique for any custom keyboard is the plate. Tray mount keyboards essentially serve as a drop-in box with standoffs onto which the PCB/plate combination is fastened.
Gasket-mounted: isolates the plate and PCB from direct contact with the casing via a rubber gasket. It softens and quietens the way a board feels and sounds when you type on it. indicating that pressure is used to secure the plate rather than screws.
Top-Mounted: often divided into the top and bottom cases. The mounting tabs on top-mounted plates feature screw holes so they may be screwed into the top casing.
Bottom-Mounted: are similar to top-mounted plates in that they employ mounting tabs, however instead of the top case, the mounting tabs are affixed to the bottom case.
Theoretically, because bottom cases often contain more material for vibrations to disperse through than top cases, this should result in a bottom out sound that is more distinct and a typing experience that is more consistent.
Sandwich-mounted: sandwich the plate between the top and bottom cases, with the bottom half being fastened to the top to secure the three sections together. Sandwich-mounted keyboards are also better able to attenuate bottom-out vibrations, producing a more distinct bottom out sound, because the plate is attached to both the top and bottom casings.
What tools will I need to Customize Keyboards?
You will not need anything too fancy to build you board. You will need –
- Patience. Lots of it.
- Soldering Iron Kit (if PCB is not hot swappable)
- Solder Wire
- Small screw drivers
- Keycap Puller
- Small Portable Fan to keep toxic air away from you, stay safe
Optional
- Mechanical Switch Opener
- Thick lube / Thin Lube / Mix
- Switch Film
Hotswap or solder?
Everything hinges on whether you. There are benefits and drawbacks to having a hot-swappable PCB, whether it be a price difference or intimidation factor. Having the option to swap out your keys anytime you want is one benefit of having a hot swappable.
Advantages of hotswap include ease of swapping out damaged switches, lack of soldering or desoldering equipment requirements, excellent for experimenting with switches and switch layouts, and a personal recommendation for novices who have not yet discovered their preferred switch and switch arrangement.
Advantages of soldering include lower cost, a lesser environmental impact, the ability to attach switches to PCBs, and a greater Ikea effect owing to the additional labor required.
A solder board can also be converted into a hot-swappable one. J Pan demonstrates how easy it is to achieve this in a video on YouTube. This is it. Keep in mind that doing this still requires a soldering iron.
Lubing your switches
Complete guide: How to lube switches
Make careful to test your PCB and confirm that all the sockets are functional before taking any action. Metal tweezers are appropriate for this. If you want assistance, you can consult some of link to video down here:
Just keep in mind that “less is more” while lubing. Apply your lubricant evenly, making sure there are no clumps or globs.
Your first keyboard is being built!
You’re at last here. It’s finally time after weeks or even months of waiting for all of your component to arrive. The first mechanical keyboard you construct is now ready. Despite the fact that you spent about a lot of money on everything, you don’t need to be worried because you completed all of your homework and don’t want to squander your money.
Please test your PCB to ensure that the slots are operating properly, as I’ve already reminded you.
